Shopping list for last week’s dinner. ? means look in the cupboard first!
I think the only nut is me but almost every Sunday I cook family dinner to which my parents and brother (and their dogs, Maxwell and Dutch) have a standing invitation. Sometimes to broaden our circle I will invite others but frequently it’s just me, Jack and my mom and dad. Cocktails are always at 5:00, with dinner following shortly after. The whole affair is wrapped somewhere in between 7:00-8:00, because when you’re getting together weekly, it doesn’t need to last for hours.
I started this “tradition” a year and a half ago when my mom’s back was bothering her and she was feeling housebound. I invited them to dinner on a Sunday at 5:00 and served simple but delicious Chicken and Noodles (a la Maidee Watson). After we were done, I thought, “I should do that again next week” and here we are. It seemed like a great way to utilize (ahem, justify?) all the cookbooks I’ve amassed, do a little cooking therapy and see my parents and brother, which when you work 40+ hour weeks can be tricky to do. Occasionally if Sunday night is busy with other activities, we will do lunch instead (Jack’s got a killer Rueben recipe!).
There are three four components to my menus: Cocktails, the main course (including veg and if needed starch and bread), dessert and the table settings. I don’t do hors d’oeuvres because most of us don’t have the appetite for a snack and then dinner and I usually serve dinner soon enough after the cocktails that I am not concerned. The exception is in the summer when I serve margaritas, I’ll make guacamole, of course!
I’ve learned the hard way to decide on a cocktail on Saturday because if it’s a new recipe and it needs testing, you’ve only (or at least I’ve only) got a few opportunities to get it right before it all goes downhill. Tonight I’m serving Jameson and ginger ale because I don’t think serving my parent’s Irish Car Bombs would be a good idea. My stand-by and crowd favorite is a Manhattan. A few weeks ago I served a Nacho Vidal from Bon Appetit which was a hit and the bonus was they could be mixed up in a pitcher versus made individually.
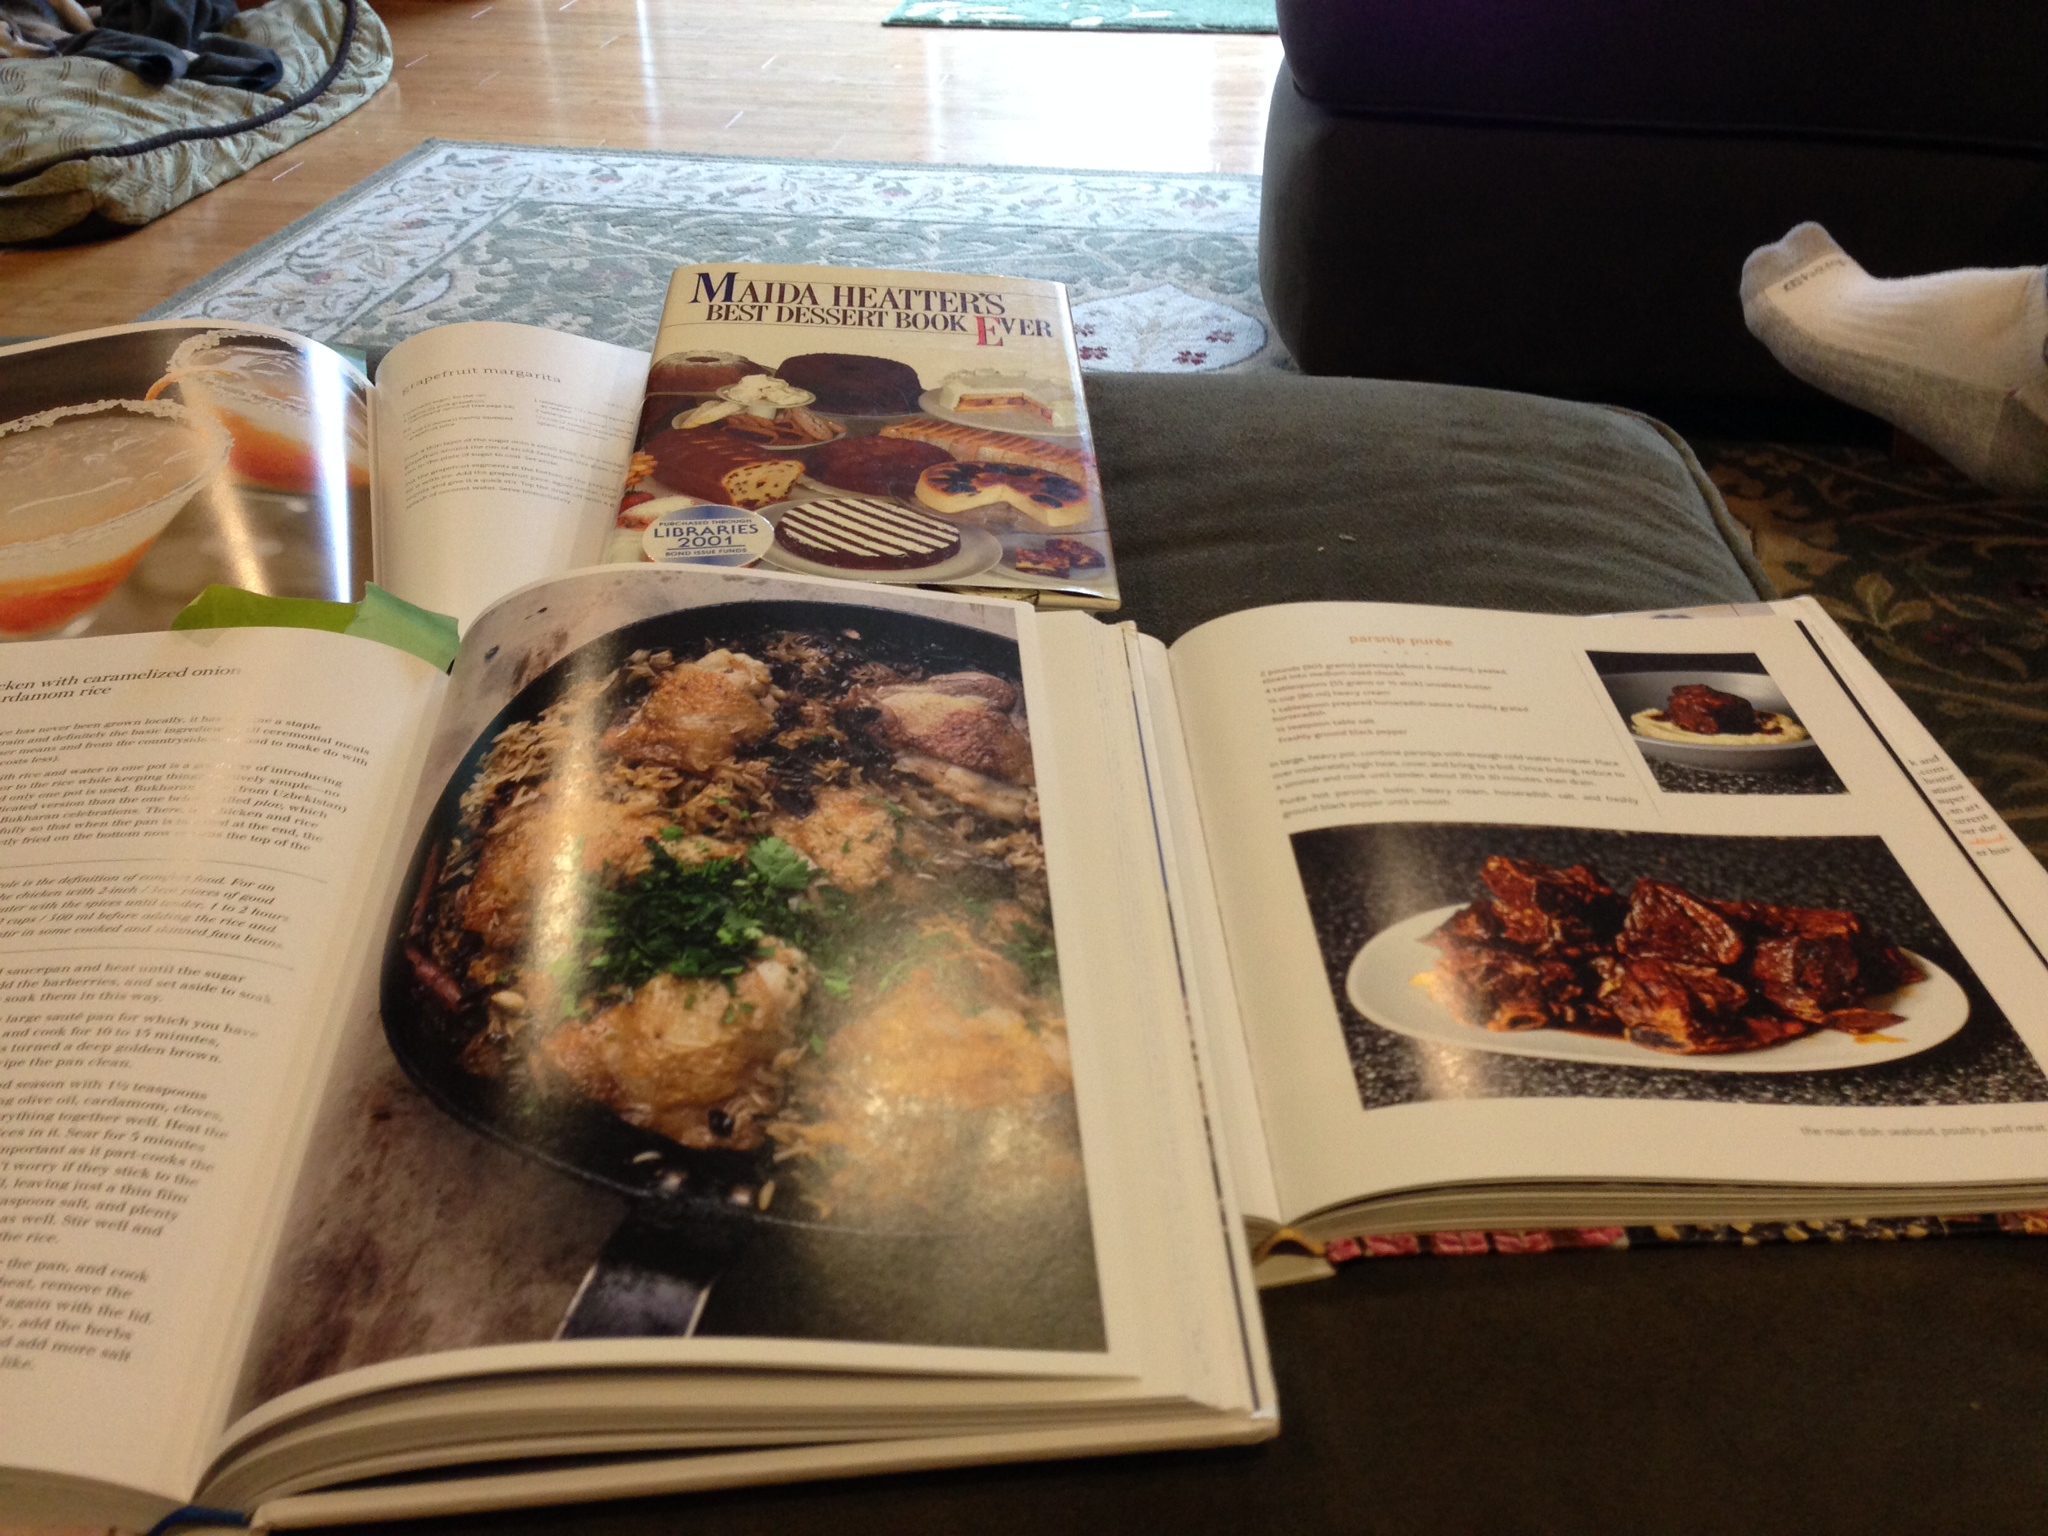
If I don’t have a menu in mind (based on what’s in my cupboards or freezer) by the time the weekend rolls around, then I start perusing cookbooks Saturday morning. I try to pick one new or edgier recipe one week followed by a more traditional/favorite the next week. Last week I made Chicken with Cardamom Rice from “Jerusalem: A Cookbook” by Yotam Ottolenghi and Sami Tamimi (go buy it now!) that I wasn’t sure would float, but everyone enjoyed it (my brother pushed the currants to the side of his plate). I figure if it doesn’t turn out or everyone hates it, we can always order pizza, right? Tonight, there’s a Wagyu Corned Beef bubbling away in the oven (Cooks Country) which I will also serve with a side of mashed potatoes as well as with the boiled red potatoes, carrots and cabbage.
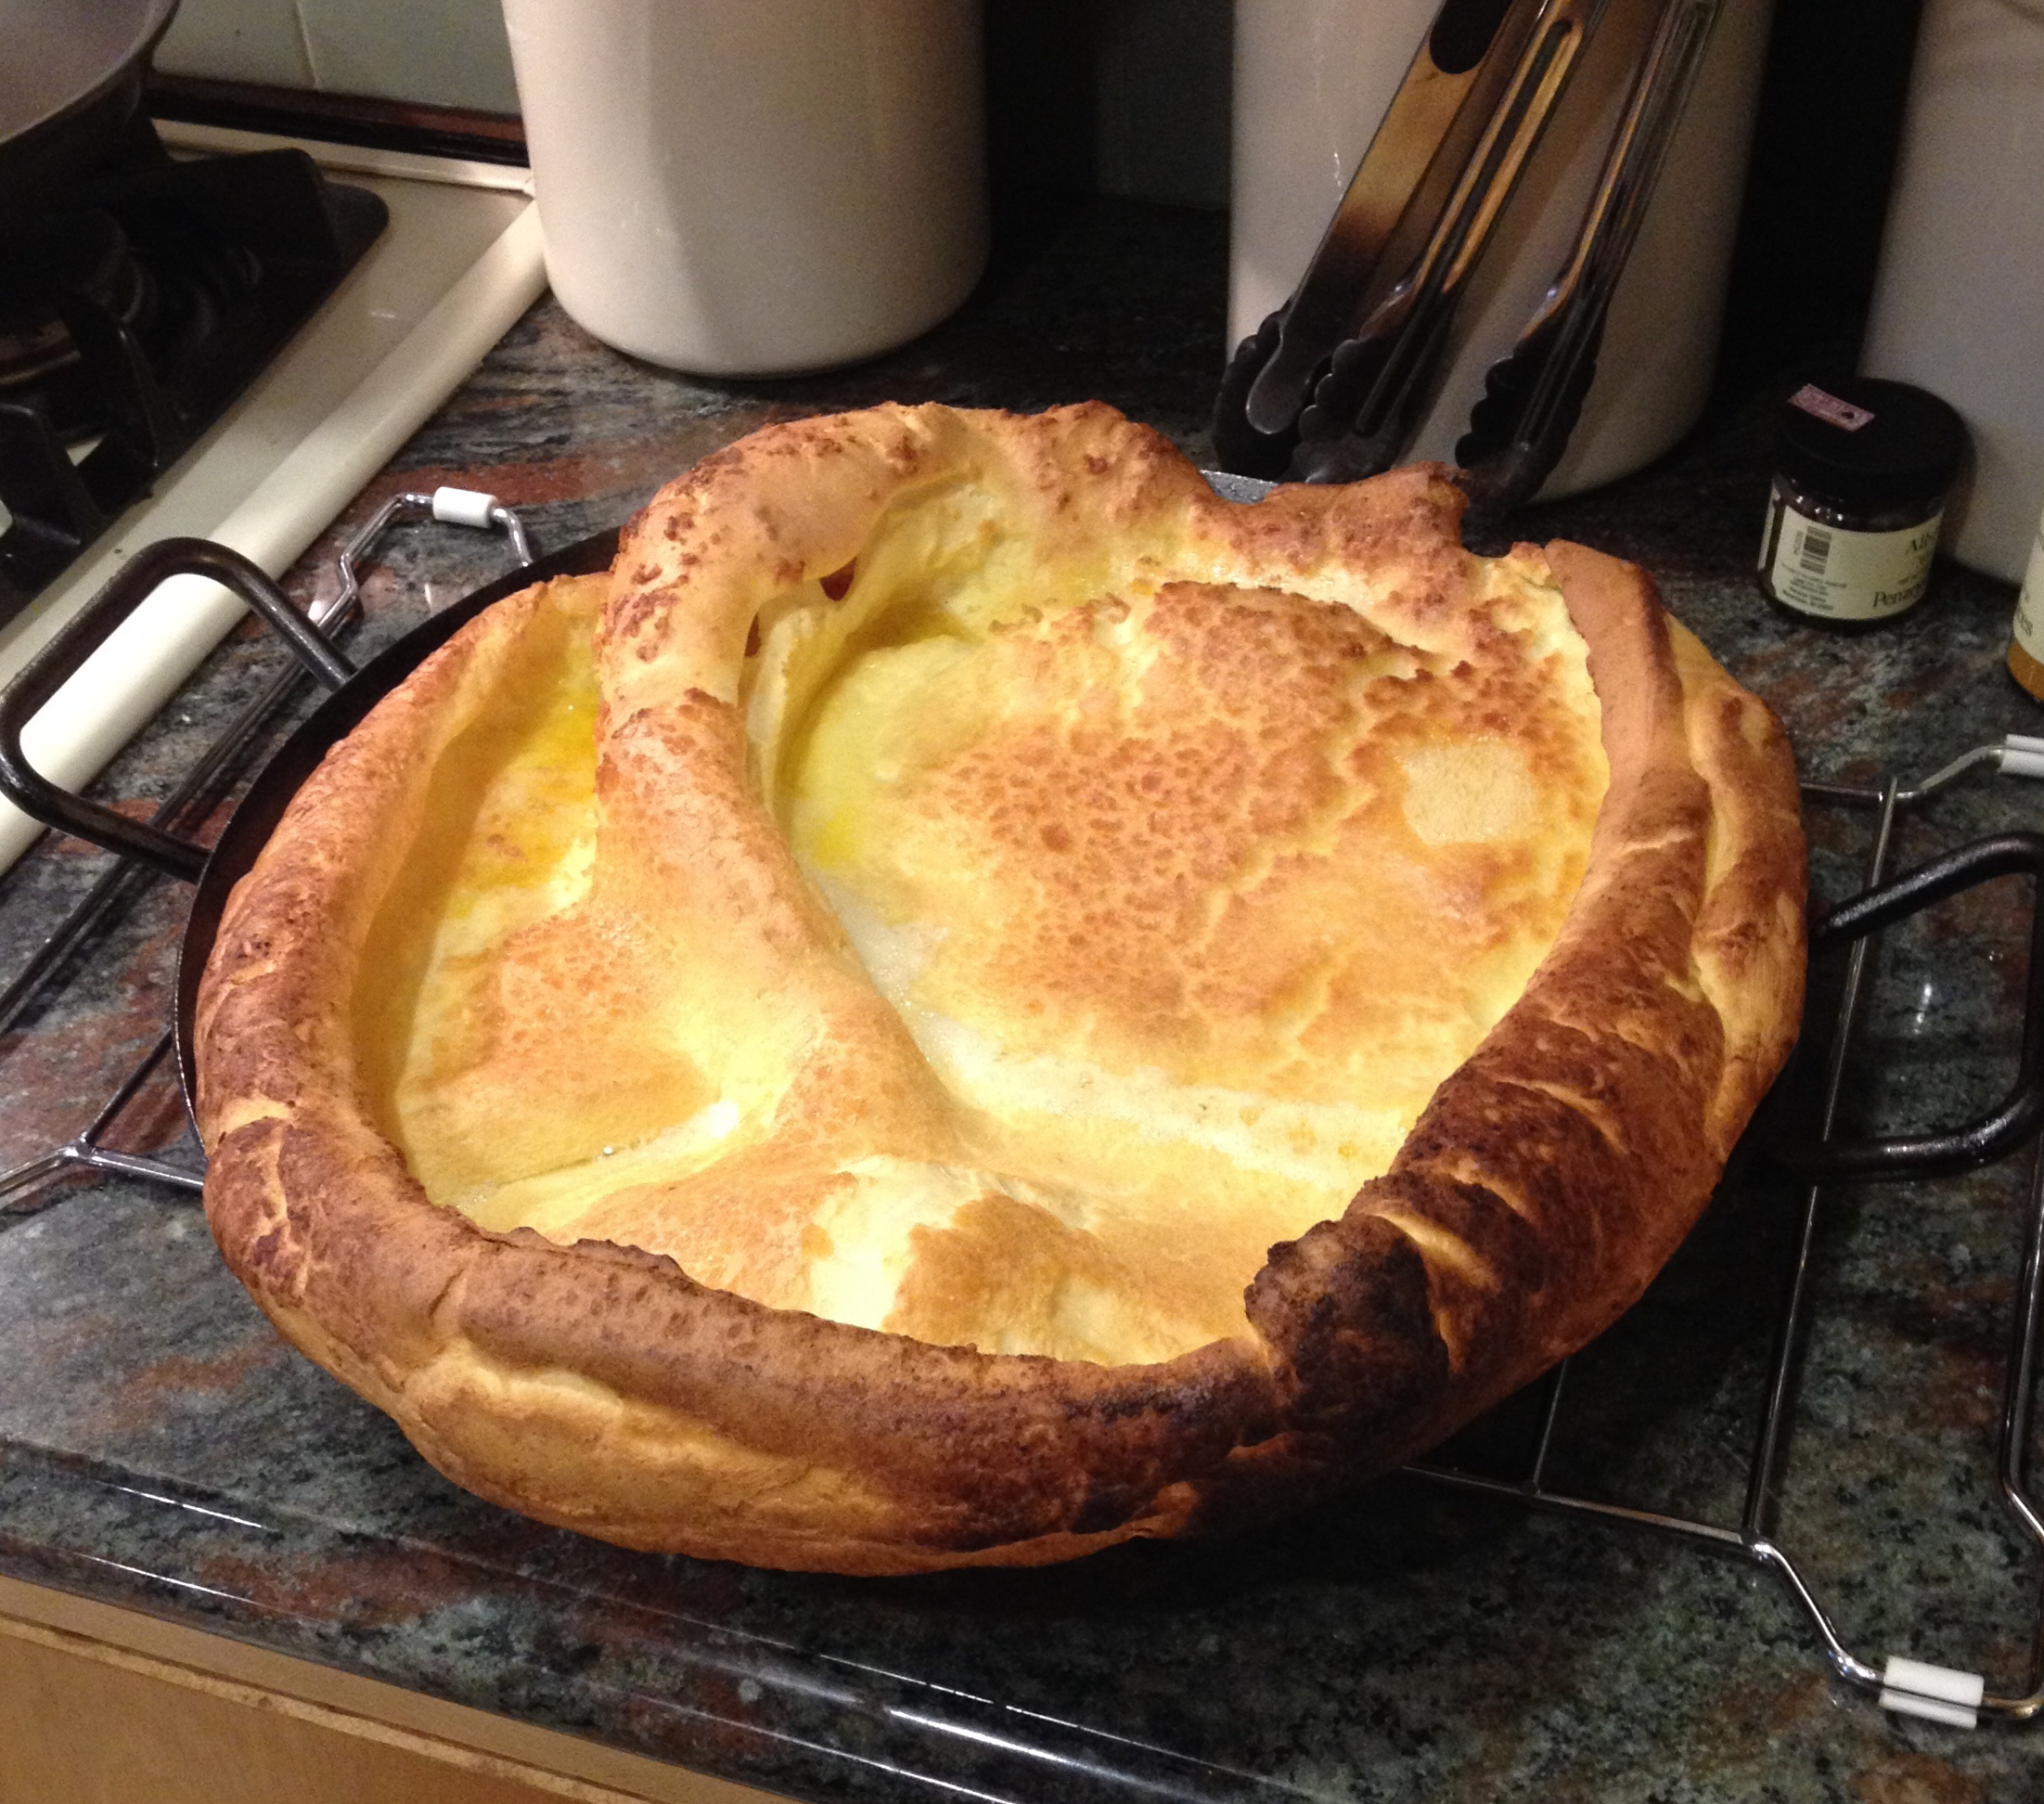
If the dish warrants a starch I’ll usually default to mashed potatoes because my dad LOVES them. A few weeks ago I switched it up and made Deb Perlman’s mashed Yukon golds with browned butter and buttermilk that were fantastic served with tomato glazed meatloaf . Depending on the maindish, I cook a vegetable and usually also make a green salad because I love a simple romaine salad with a lemony mustard vinaigrette and parmesan. Because my dad is not a green salad fan, I’ll do broccoli, Brussels sprouts, asparagus, beets, etc. but I will frequently serve them with a flavored butter or vinaigrette so they have a little kick. Most weekends, I make two loaves of bread from the amazing book by Ken Forkish, “Flour, Water, Salt, Yeast” (go buy it now!) or if the meal doesn’t lend itself well to bread, I’ll make popovers which are a favorite and so much easier! Tonight with our corned beef we’re having Irish Soda bread.
Dessert can be as simple as tonight’s Barefoot Contessa Chocolate Chunk Blondies or as elaborate as the Maida Heatter chocolate cake I made last week. One week I served all the leftover bits and pieces I’d frozen from previous dinners, not the biggest hit, but it sure was easy! Soon the rhubarb will be ready and we’ll have four to five weeks of rhubarb desserts.
I set the table every week, trying to make it a step up from the weeknight and not as fancy as the holidays. I own a lot of white serving pieces (bowls, platters, etc.) and my everyday dishes, as well as my china, are also white, which makes it so easy to change the look with a tablecloth or placemats and the food always looks good in white. I rarely serve the main dish from the pot, unless it’s something that would be risky to try to transfer to another dish. Because I am the daughter of Ida, I also own a lot of stemware, so cocktails are always in a fancy glass. I try to find fresh flowers from my yard or the store but I loathe to spend a fortune on them. Last weeks camellias were courtesy of the vacant house at the end of the street. If I was honest, I would say there are five components to family dinner, because the clean-up is definitely part of the deal. Jack usually helps me and and all those dishes I did as a kid also helps, because, I don’t want to boast, but I can wash dishes/clean a kitchen in record time. Monday night is usually spent unloading the dishwasher and putting all the serving pieces away in my sewing/dish storage closet, while hopefully eating leftovers!
The reality is, it is a lot of work to have people for dinner every week but it’s work I love. It does not need to be as elaborate as I make it but that’s the fun part for me. Now that the kids are grown and gone, I’m not really sure what to do on the weekends, and this fills my time and fulfills the creative side of me (and allows me to justify my cookbook/kitchen tool habit!). And I get to spend time with people I love. Maybe someday more people I love will be around to come for cocktails at 5?
Look at the time, I’d better get going. Invite someone to dinner next week!

Beautiful camellias!
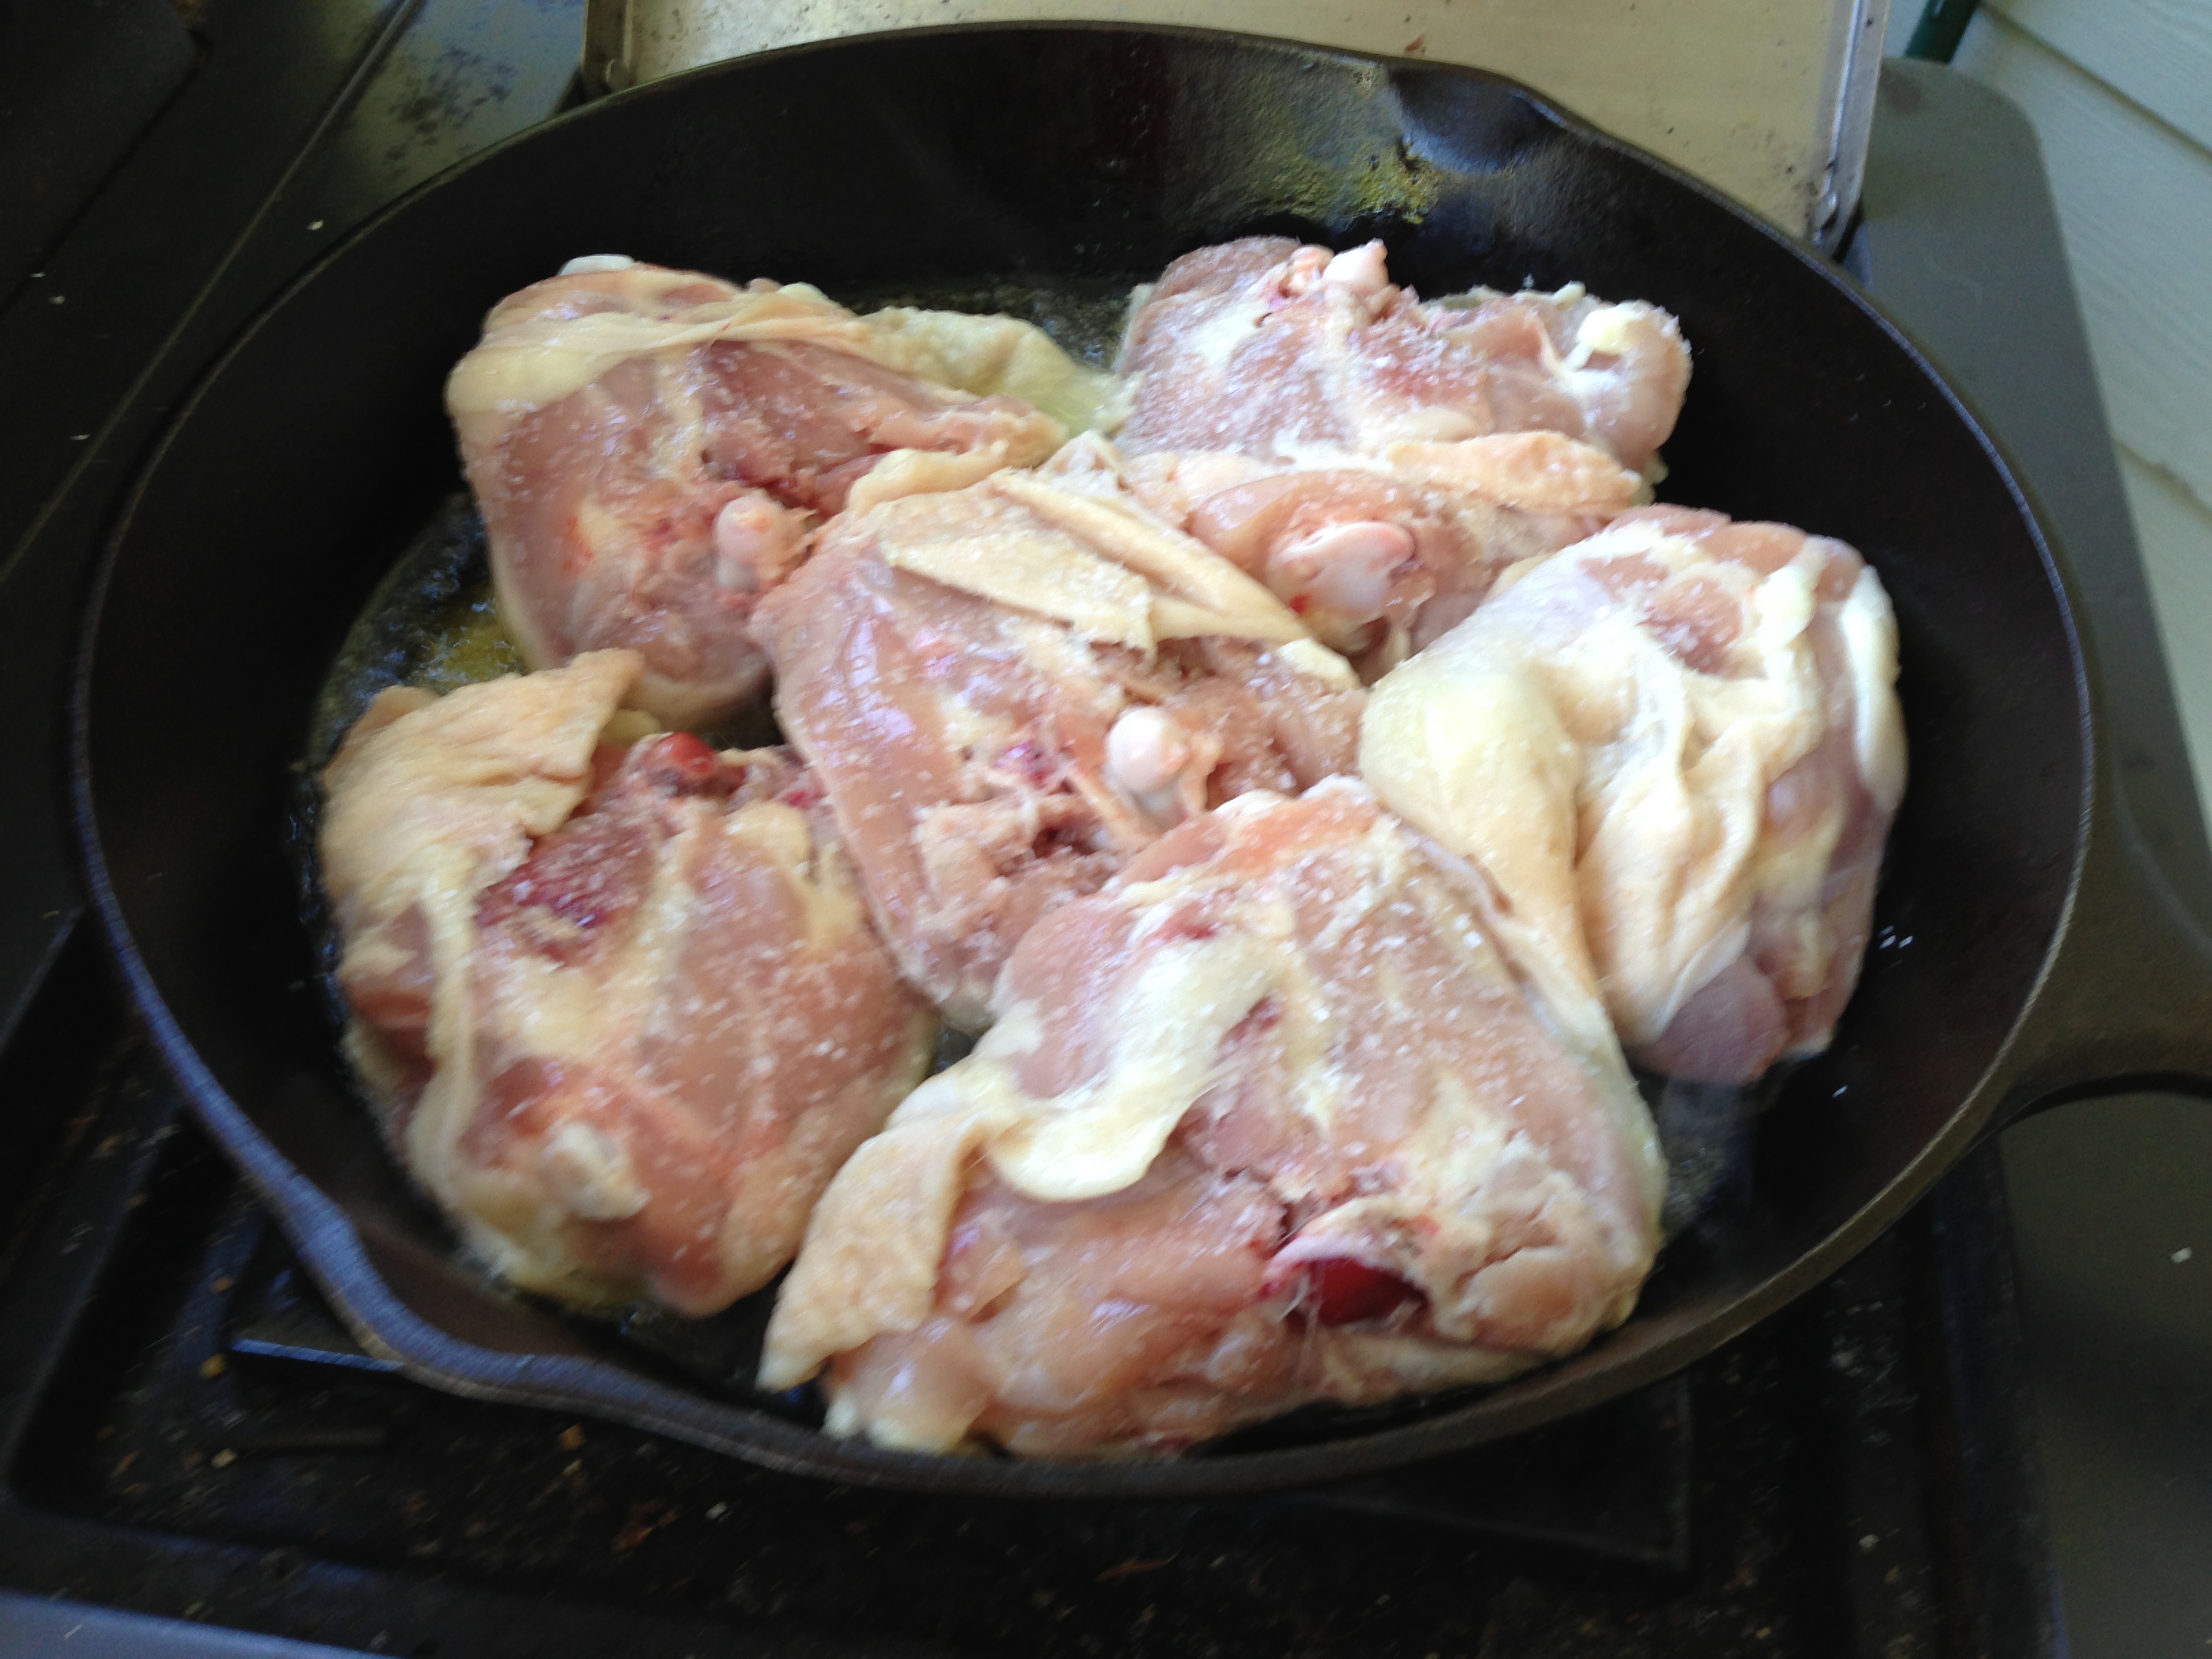
Narrowing down the choices, the chicken won over the short ribs last week.
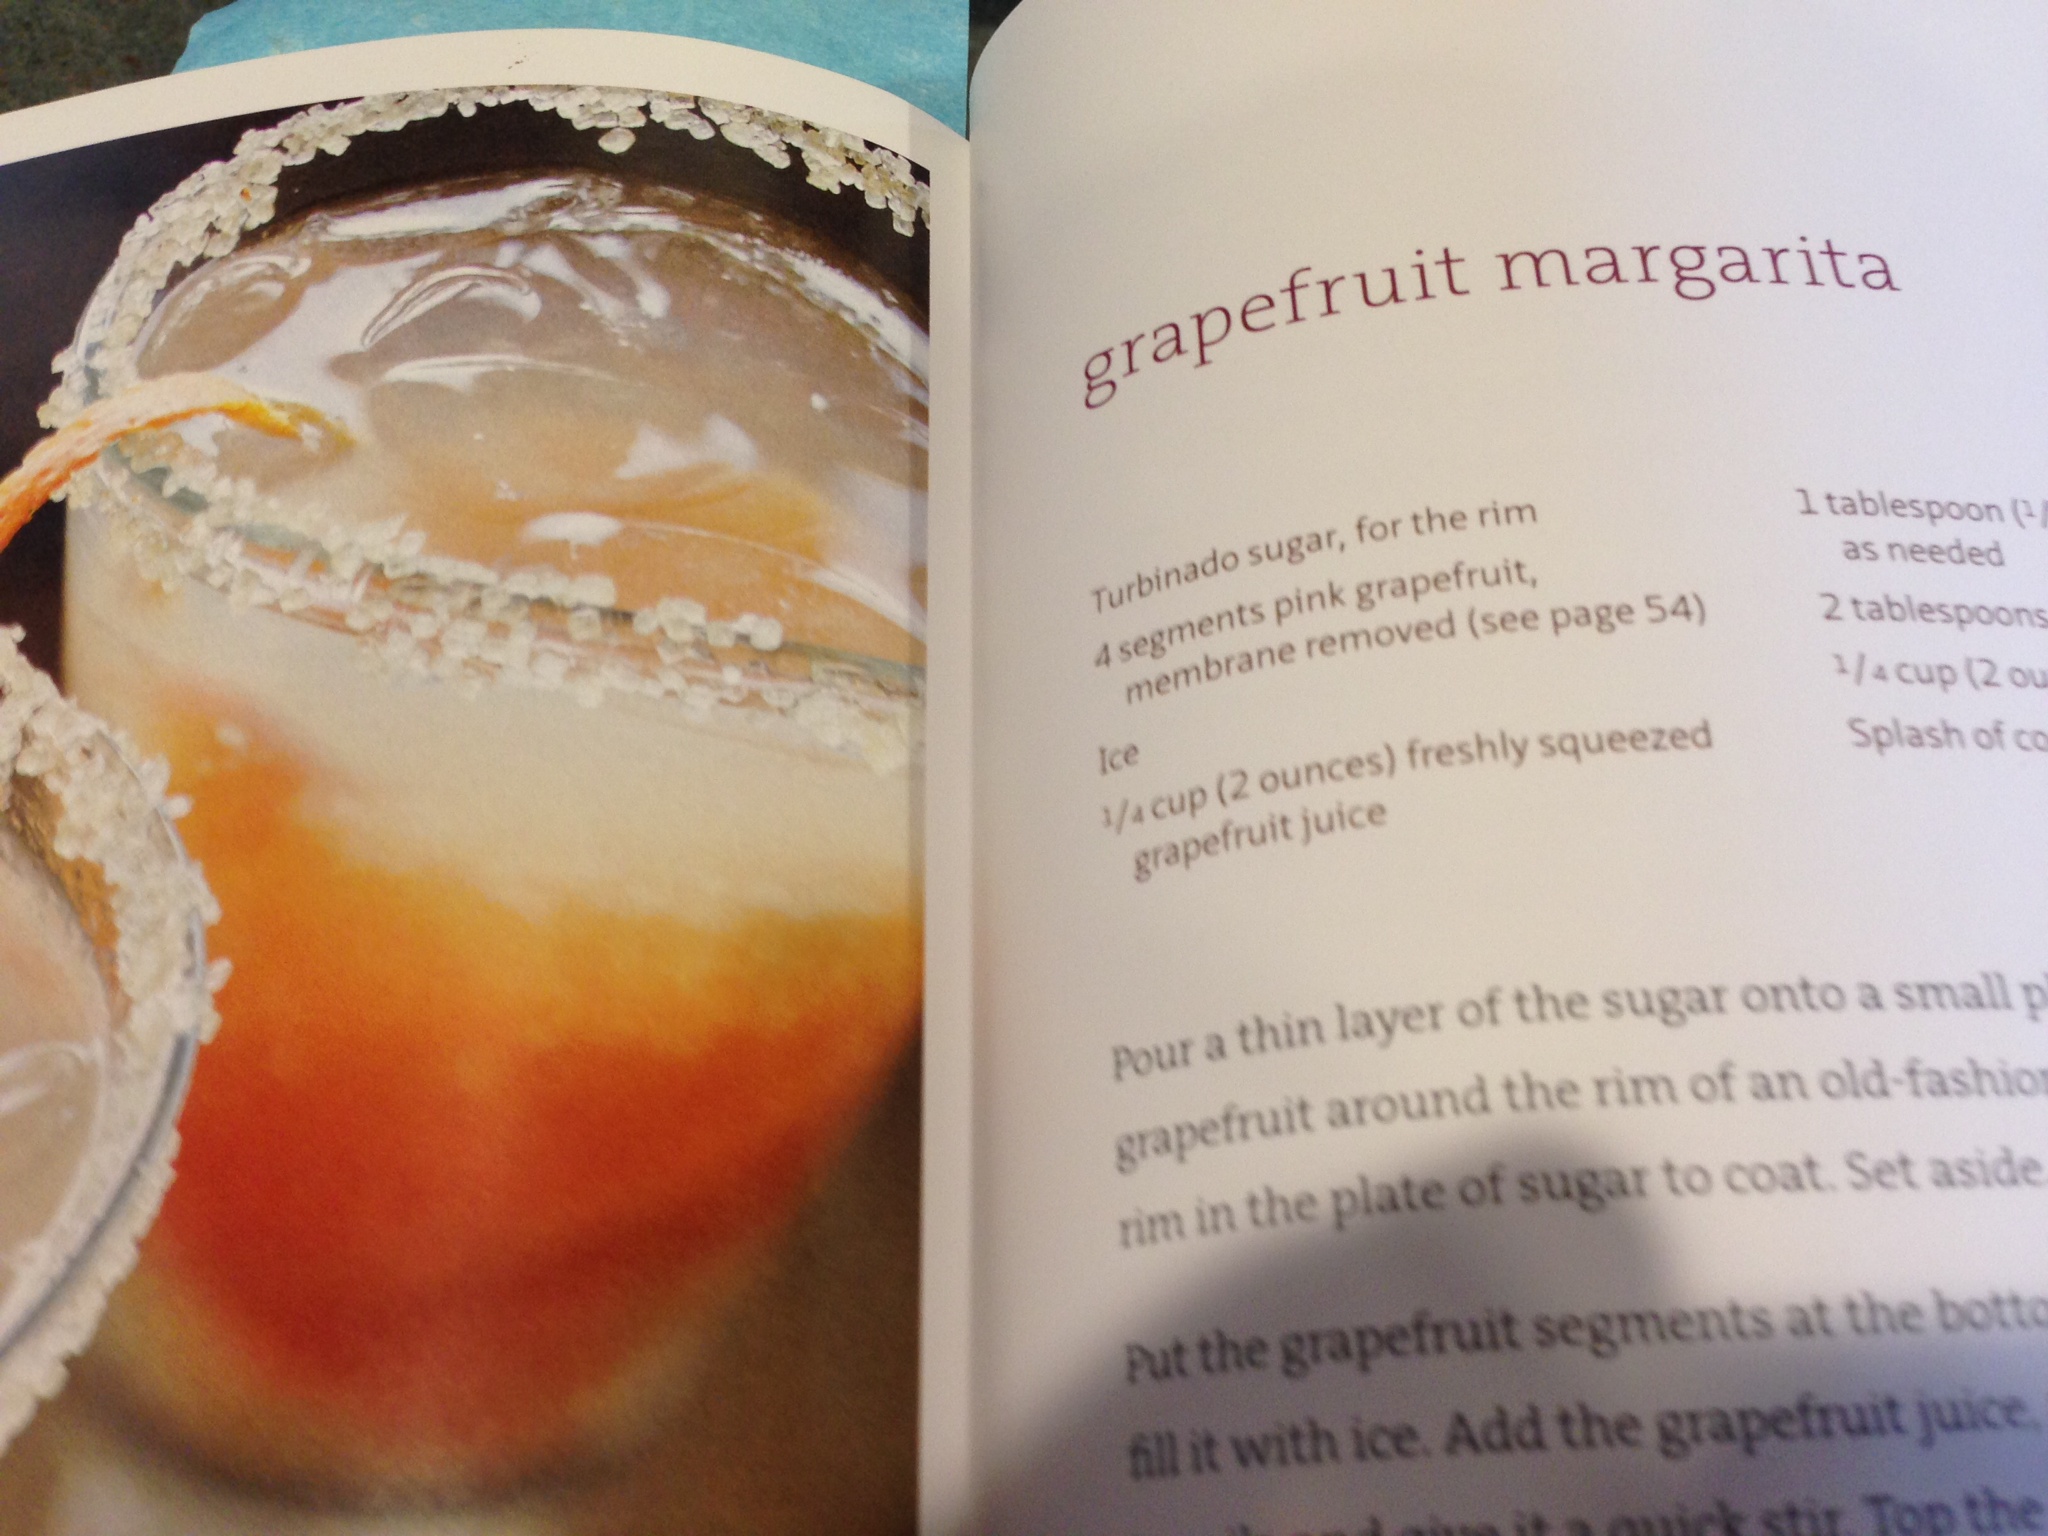
Last week’s cocktail choice
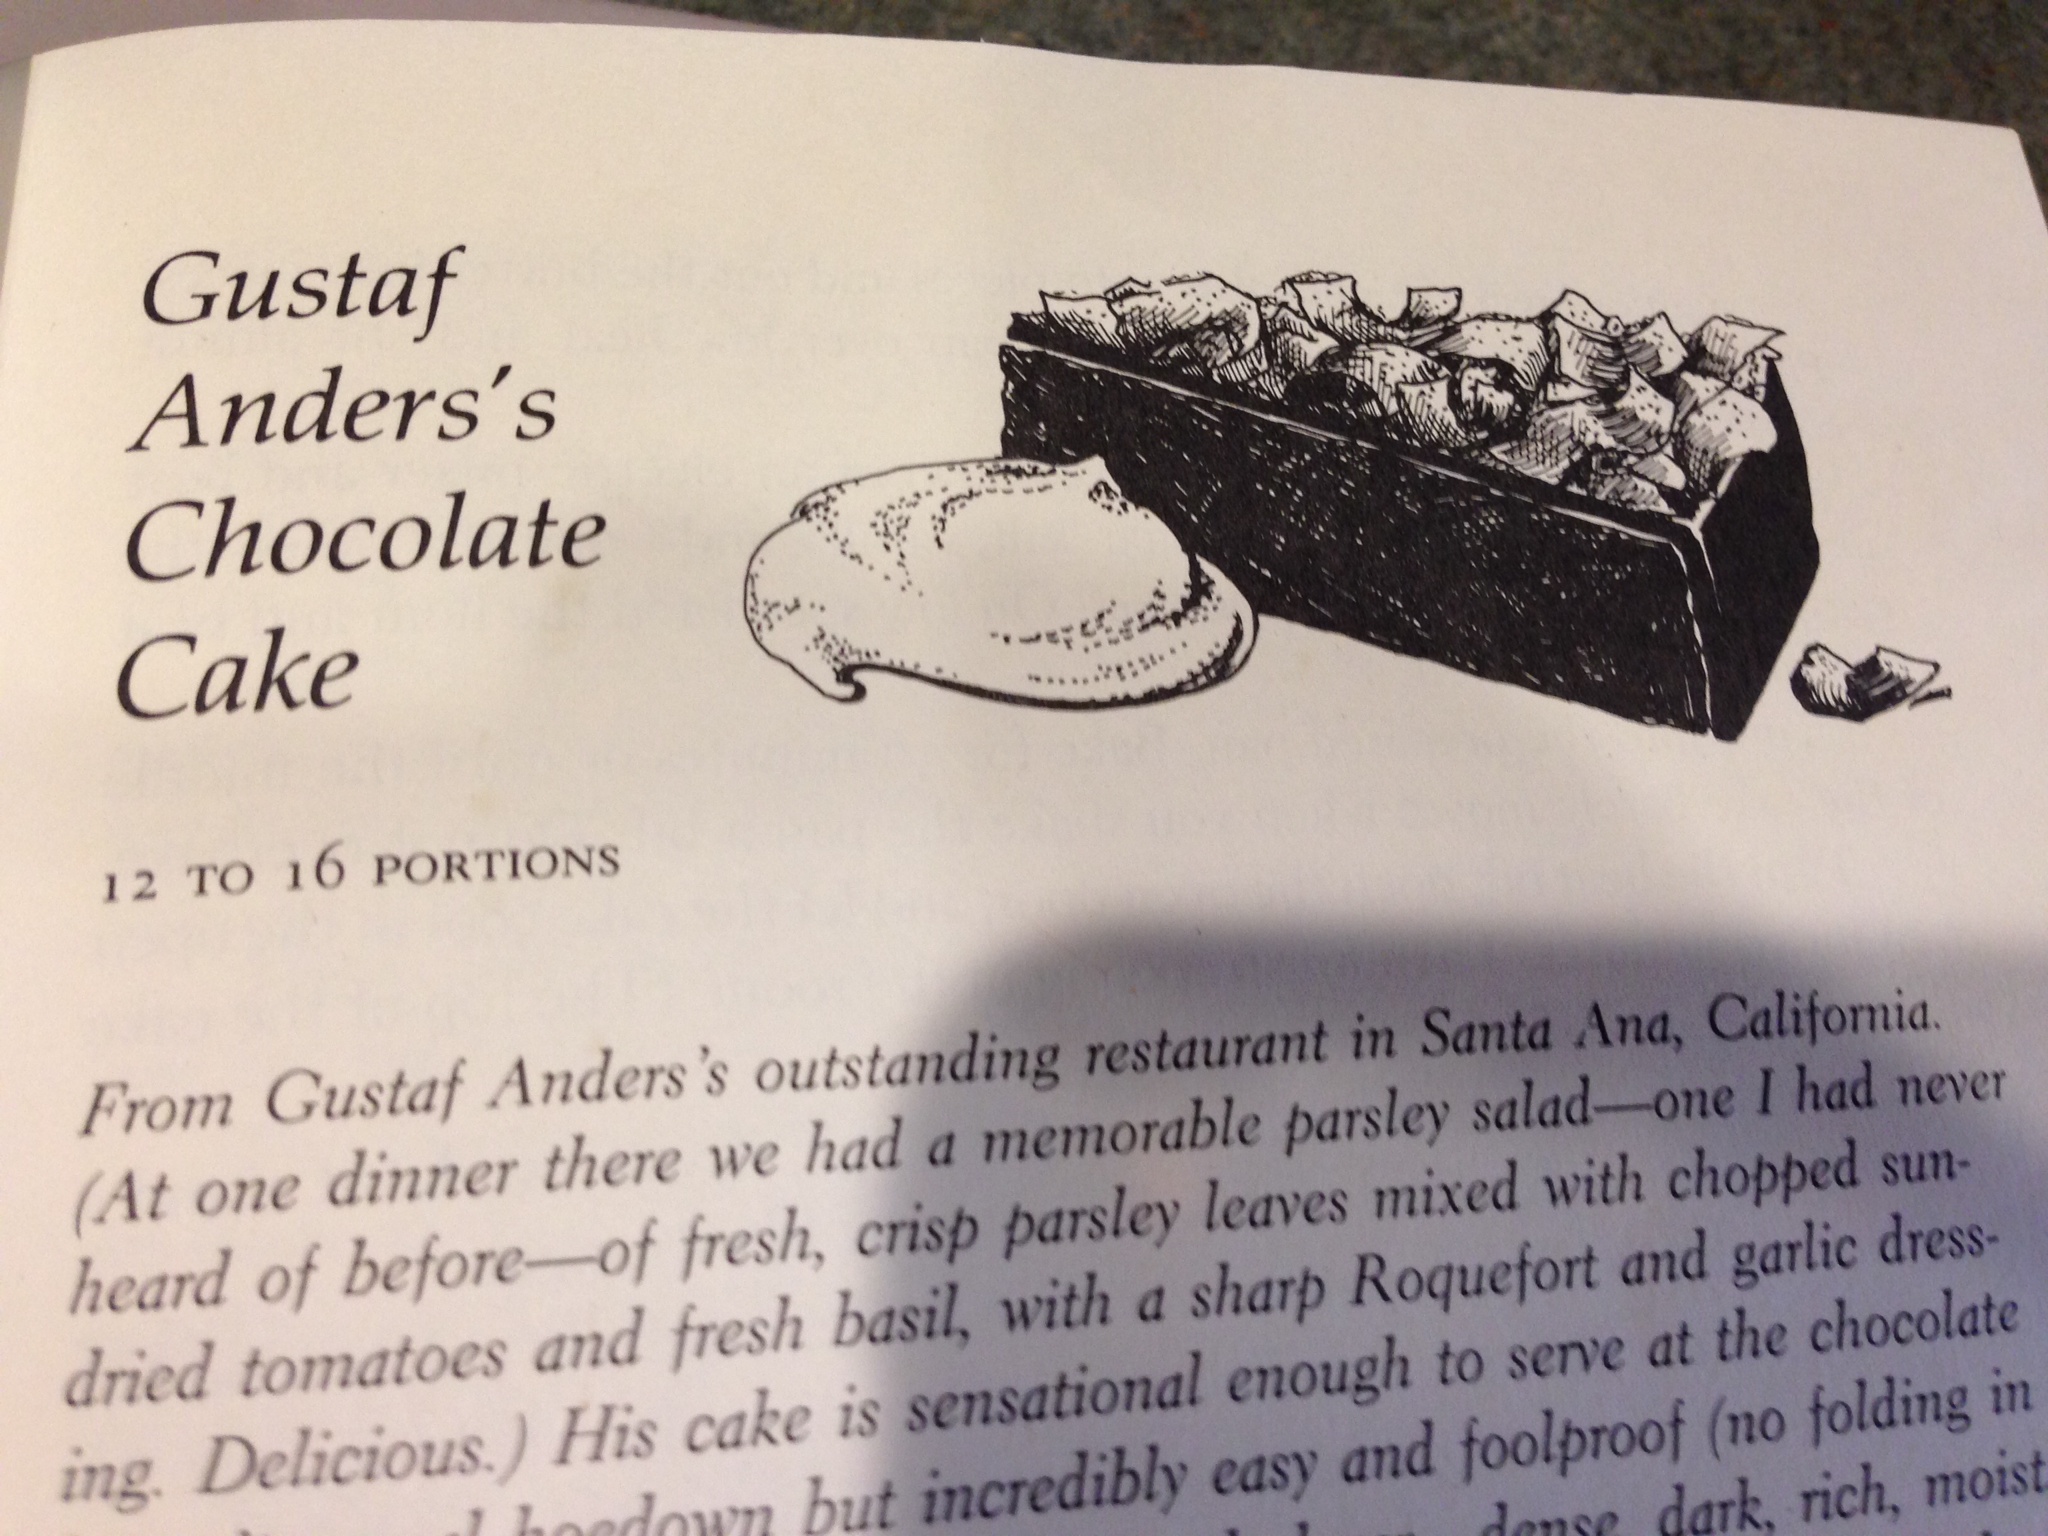
Another excellent, but involved, Maida Haetter cake
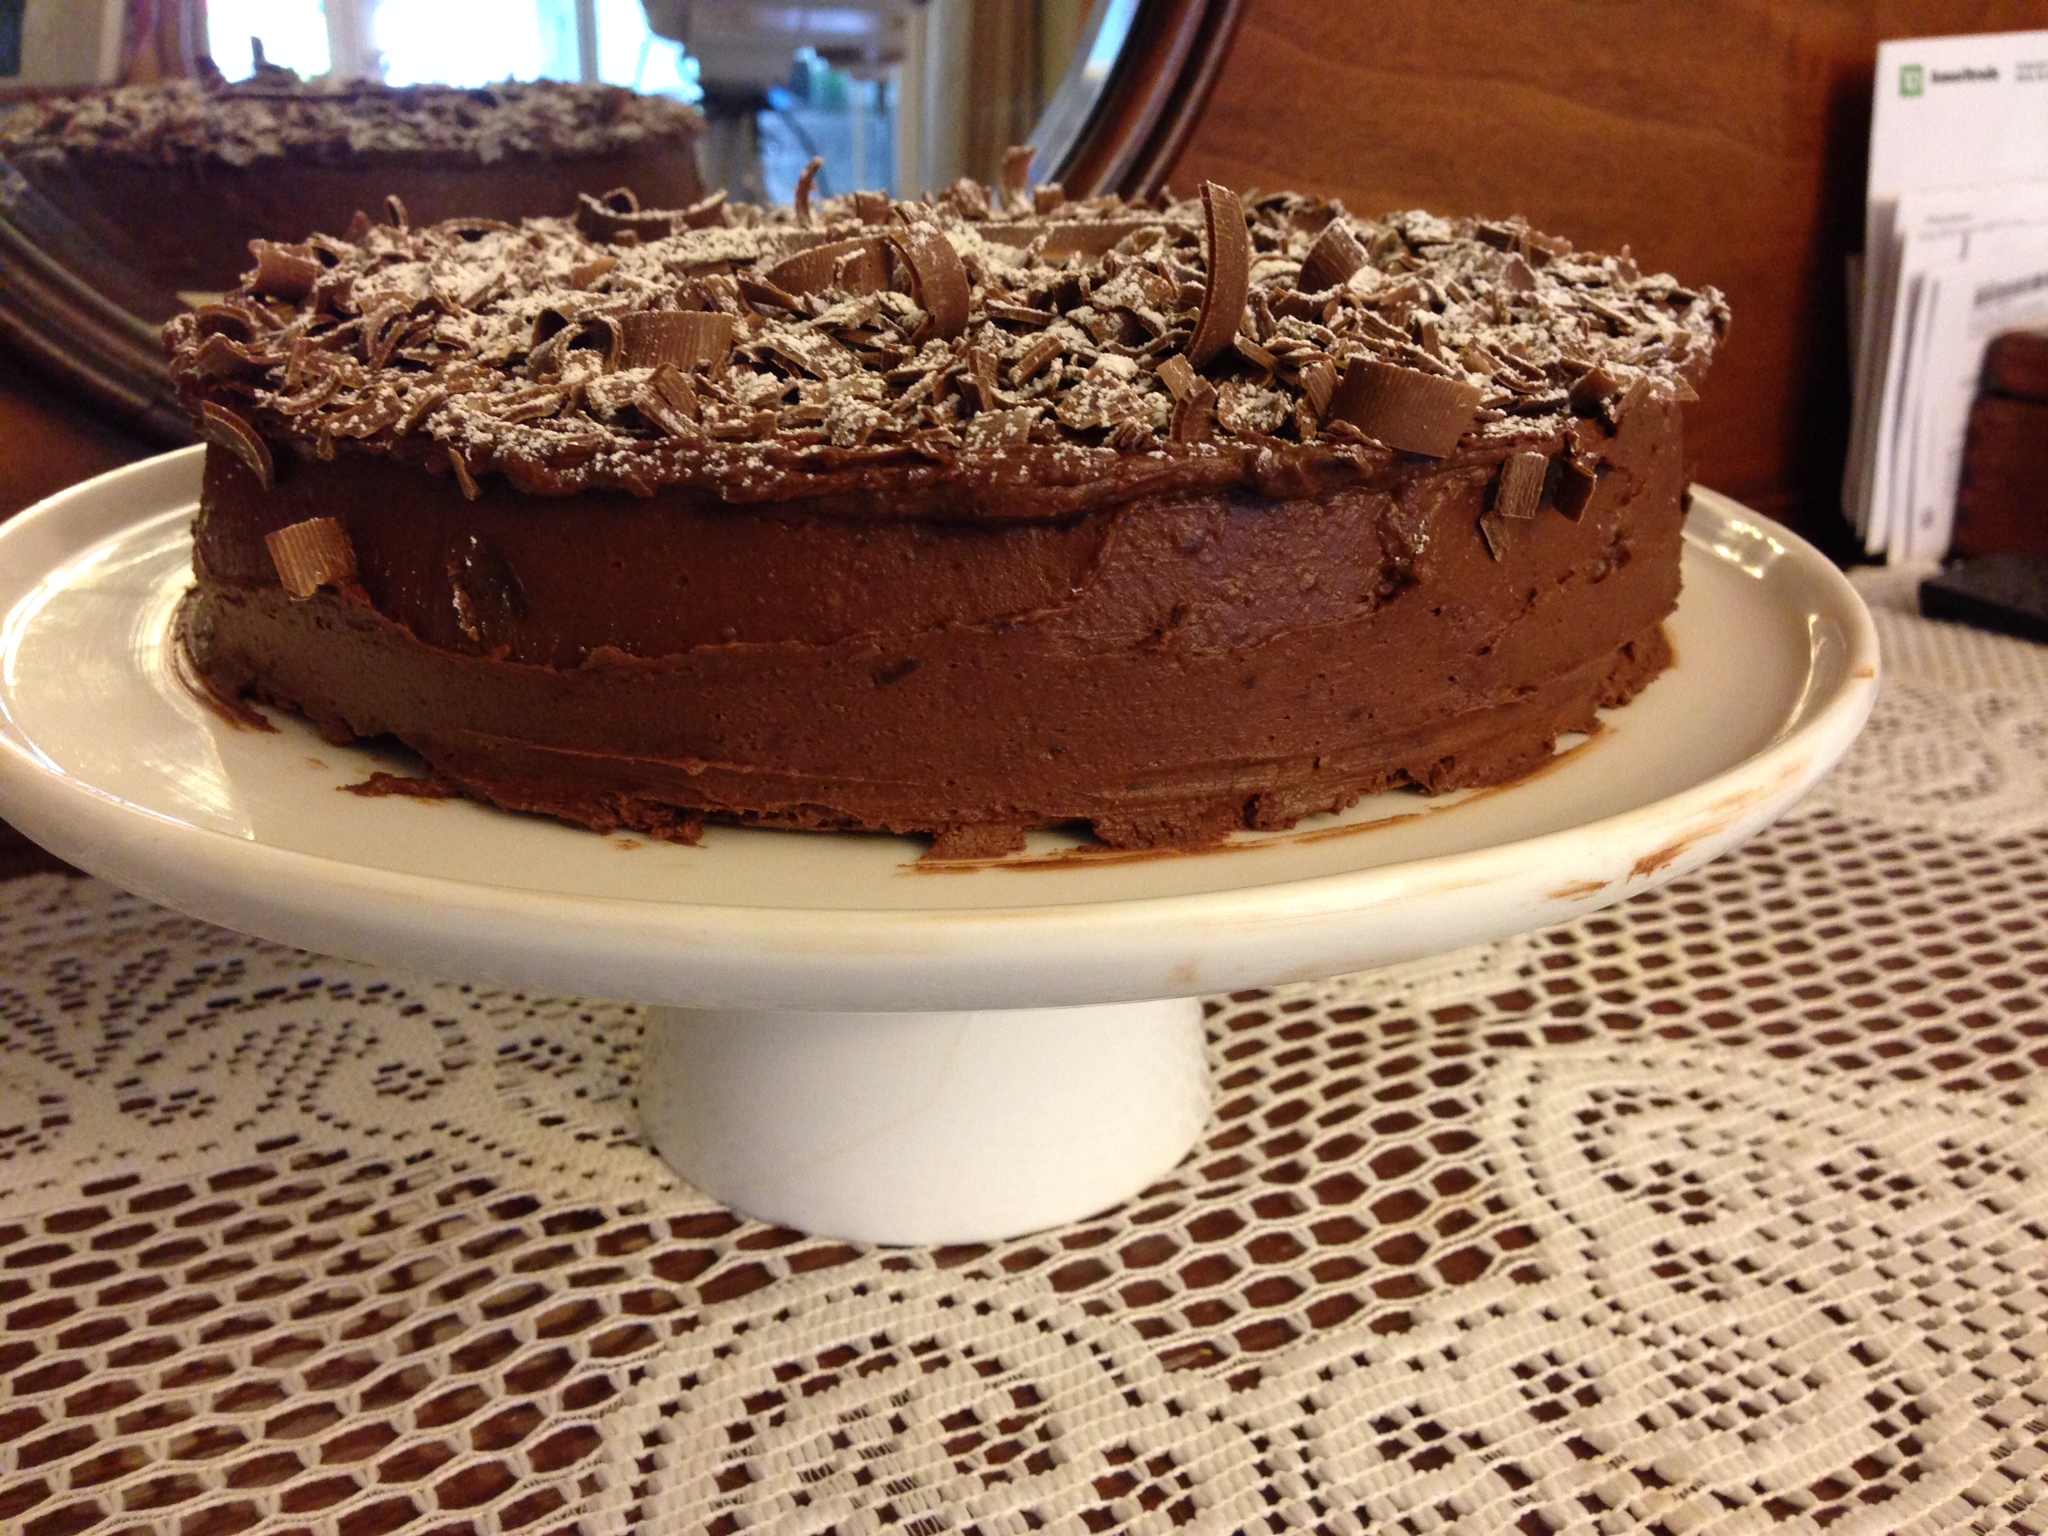
Baked the cake on Saturday and frosted it on Sunday
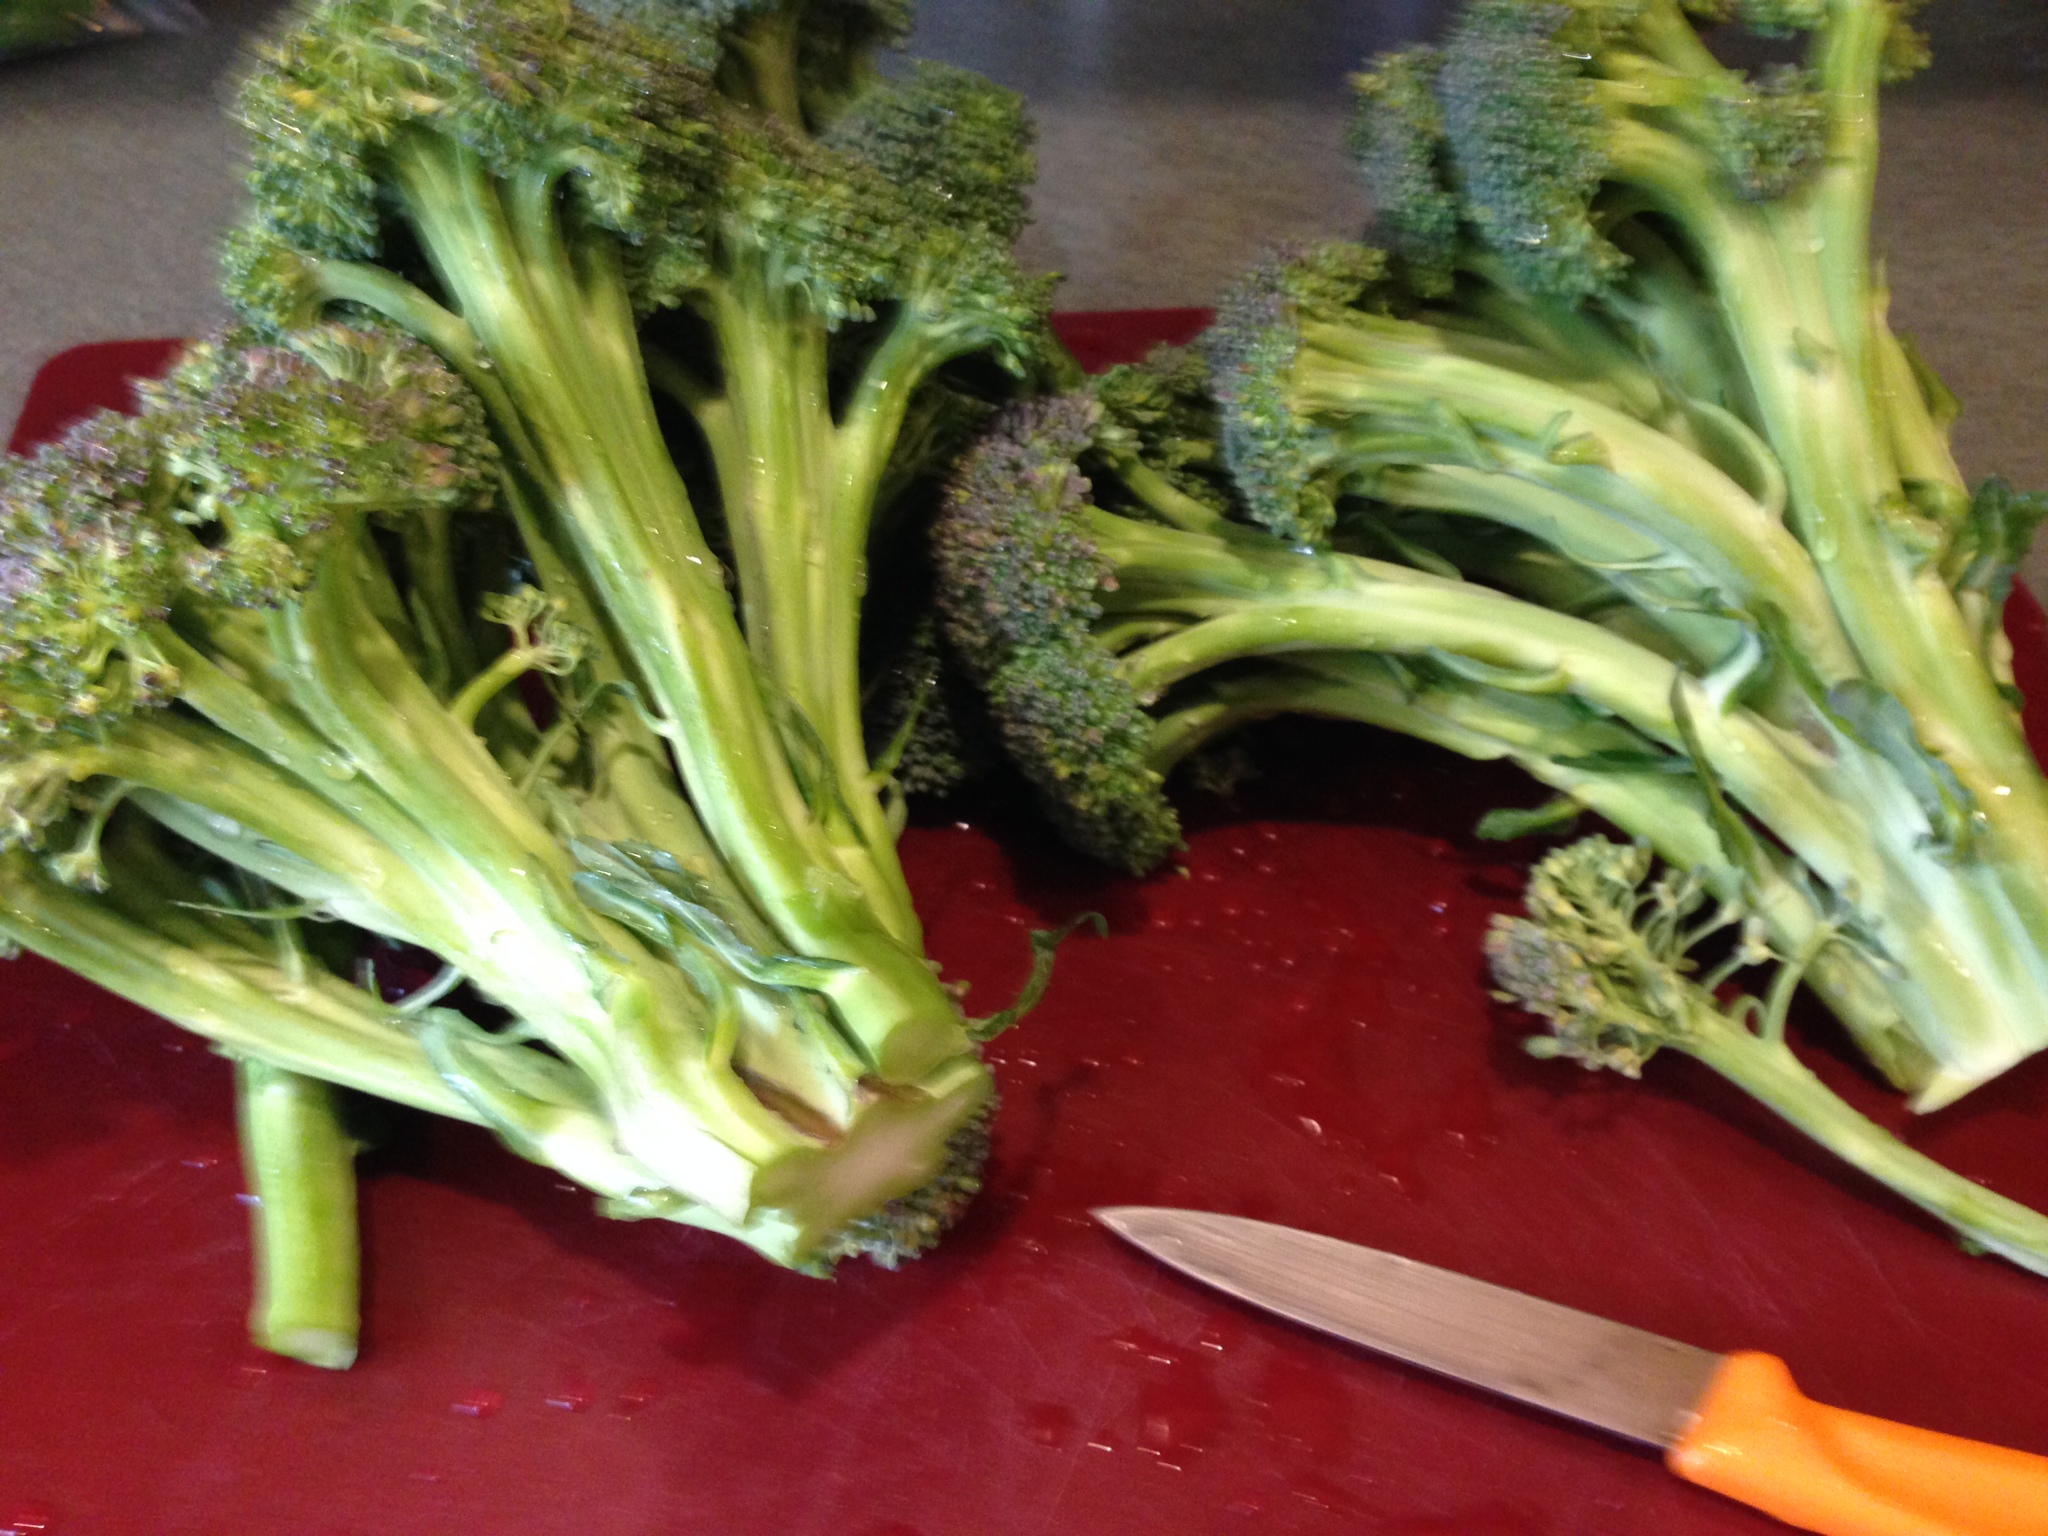
Had a lot of broccoli in my fridge. Remember to peel and cut up the broccoli stalks, too. They have more flavor than the flowers.
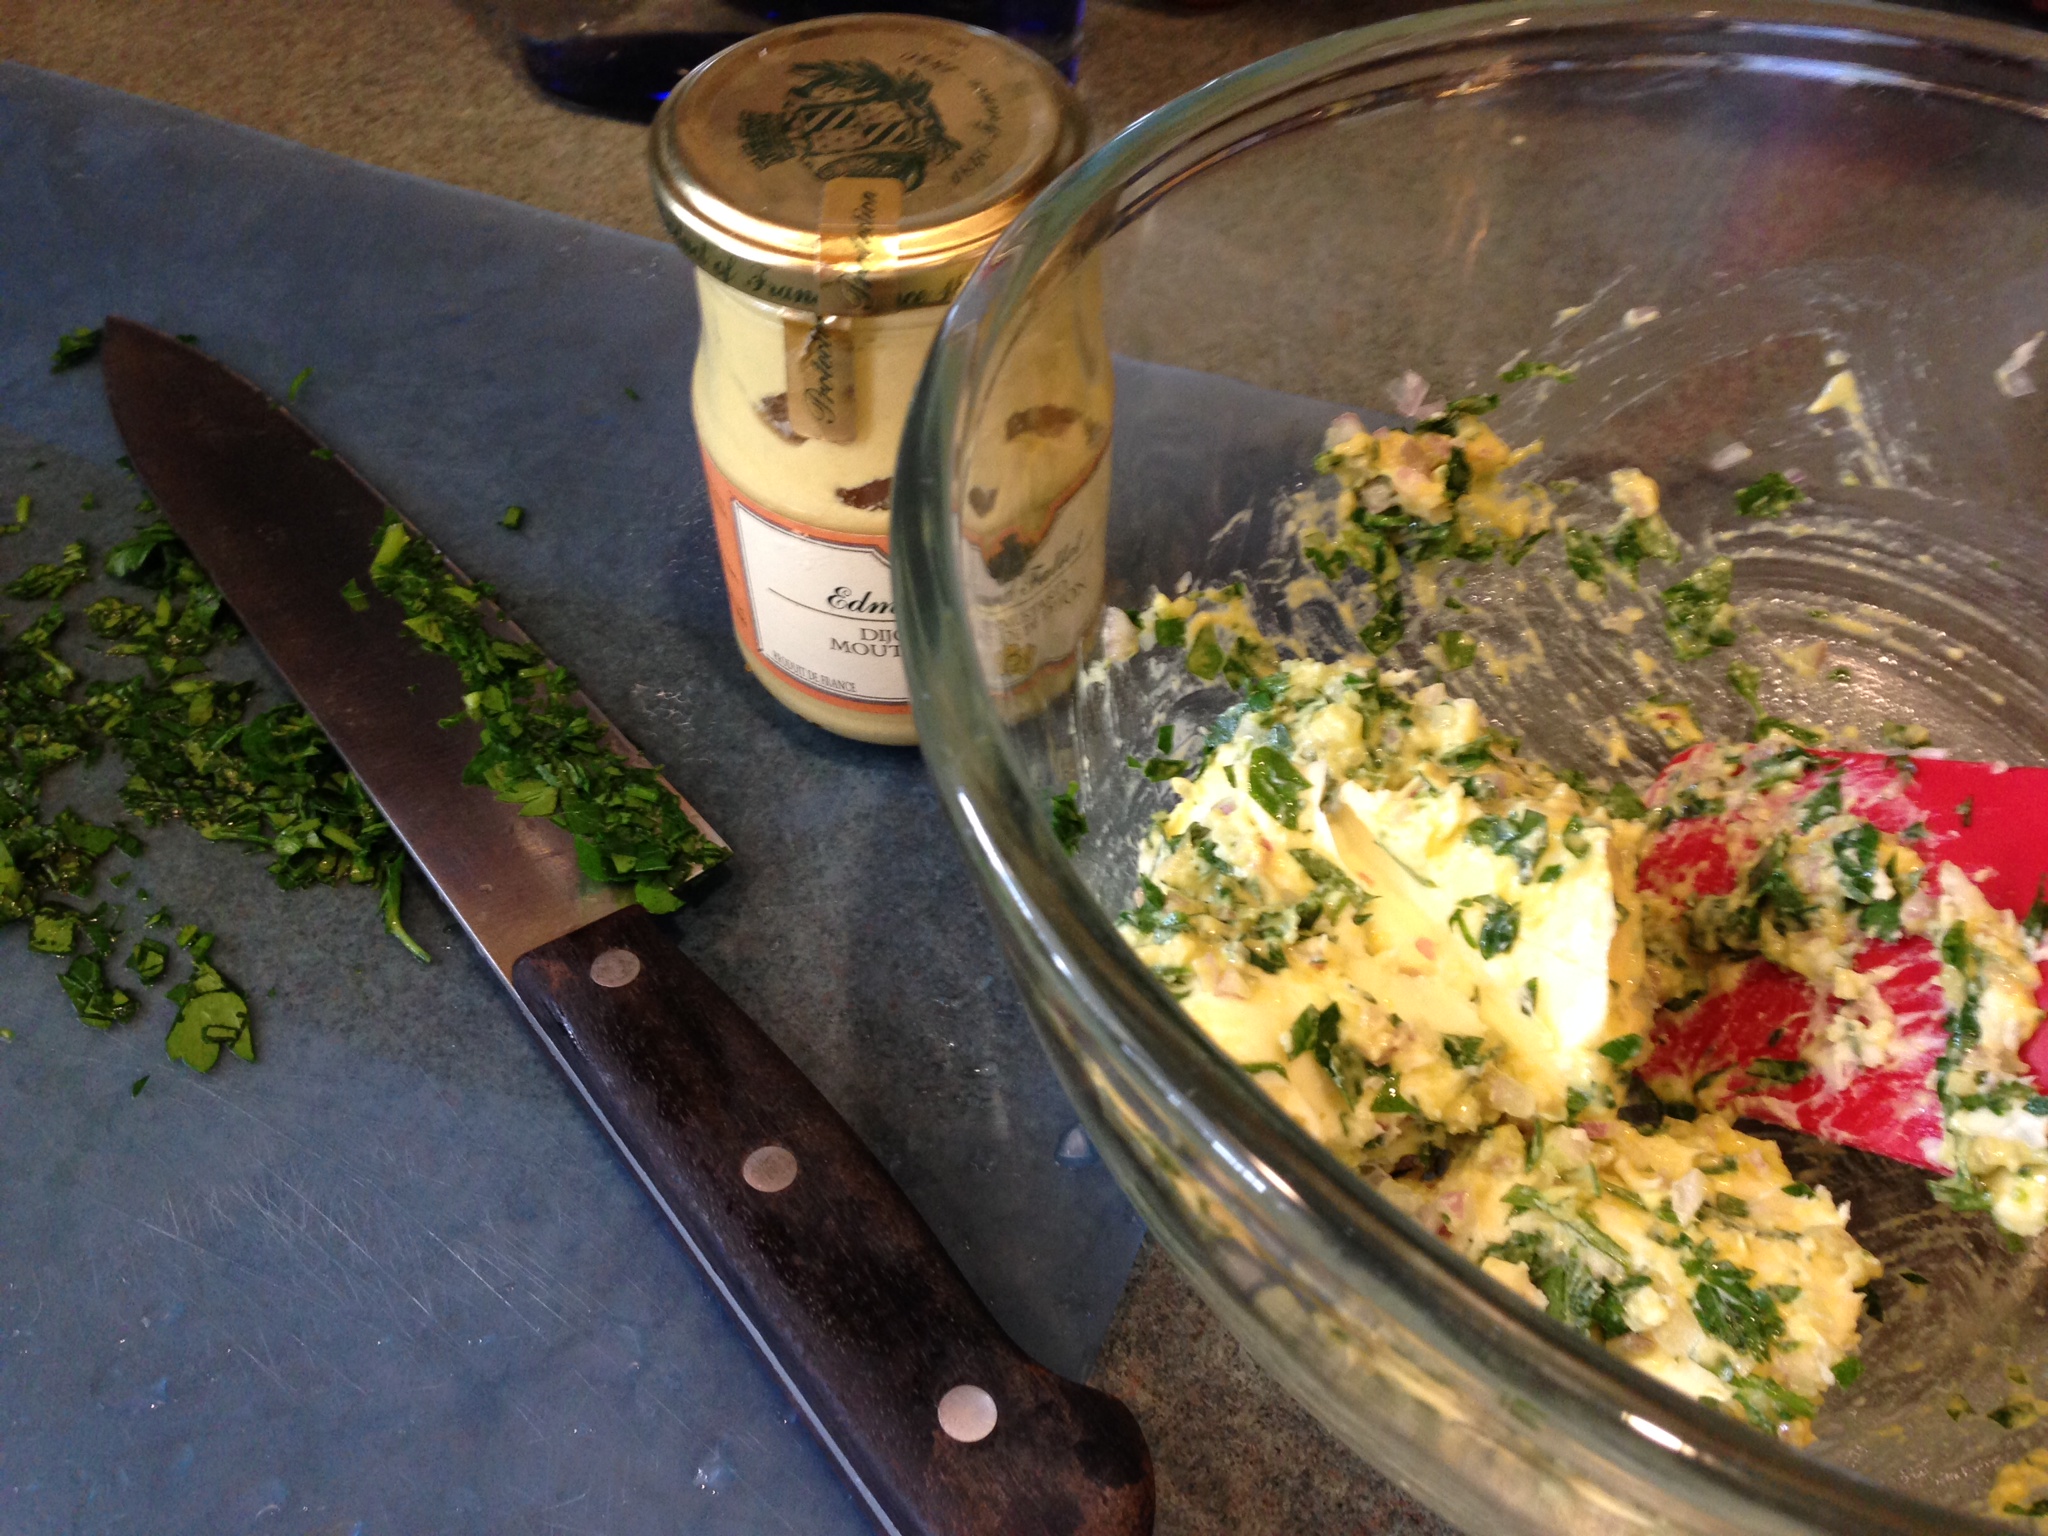
Yummy mustard butter!
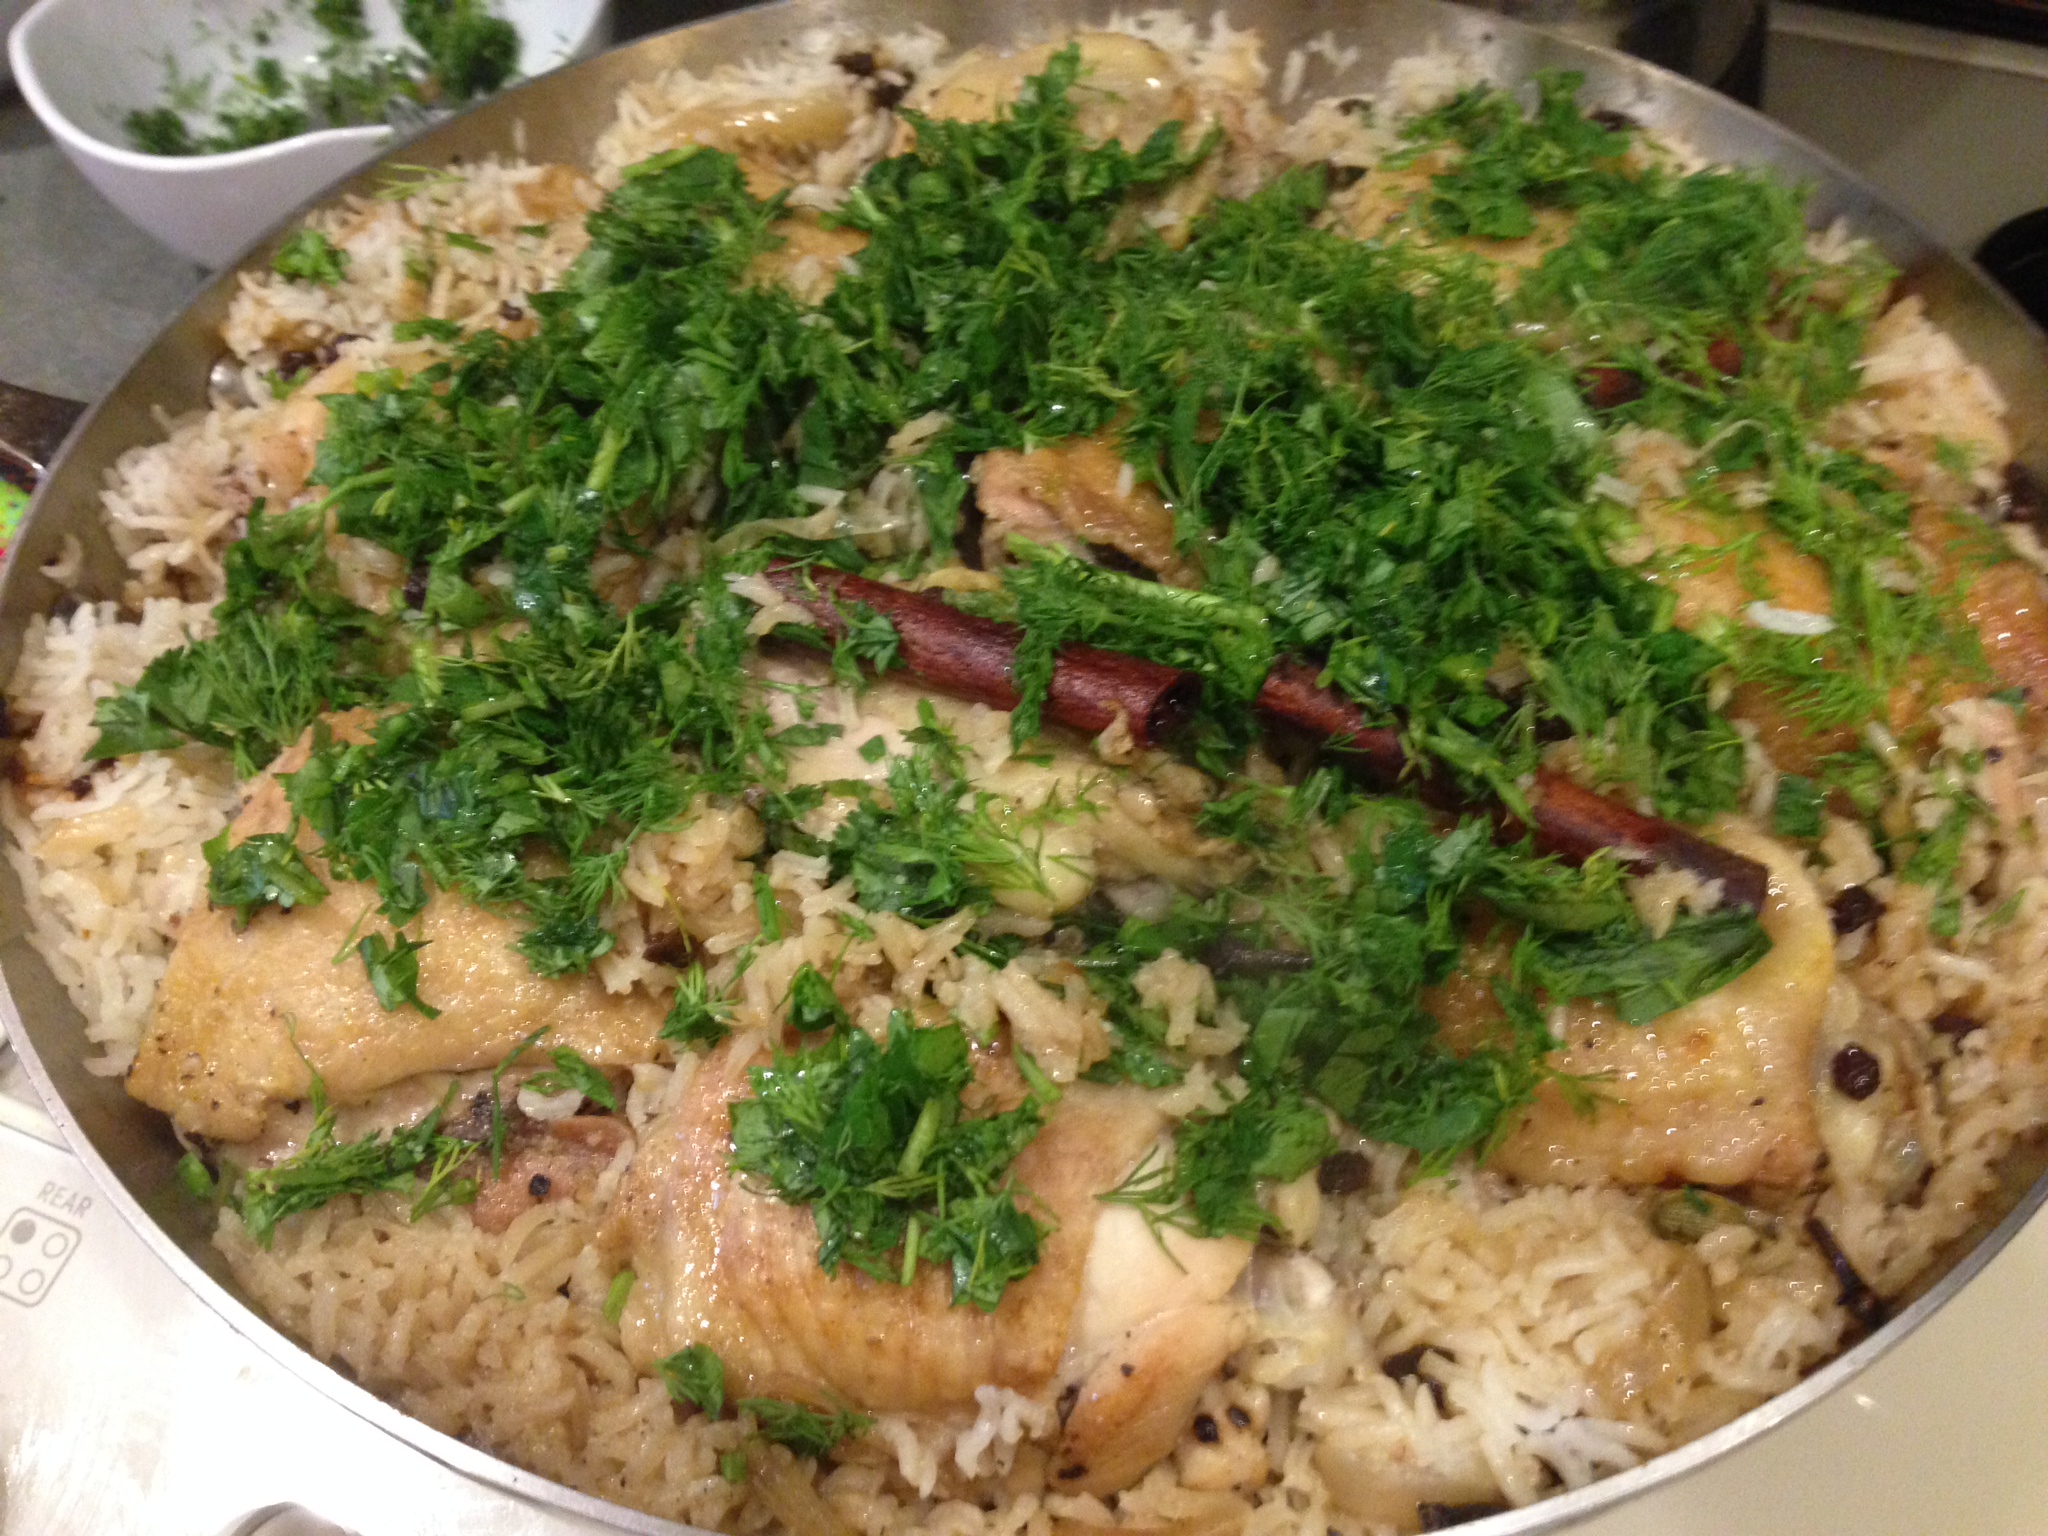
Finished Chicken with Cardamom Rice in my huge All Clad pan–paella pan would have worked well too
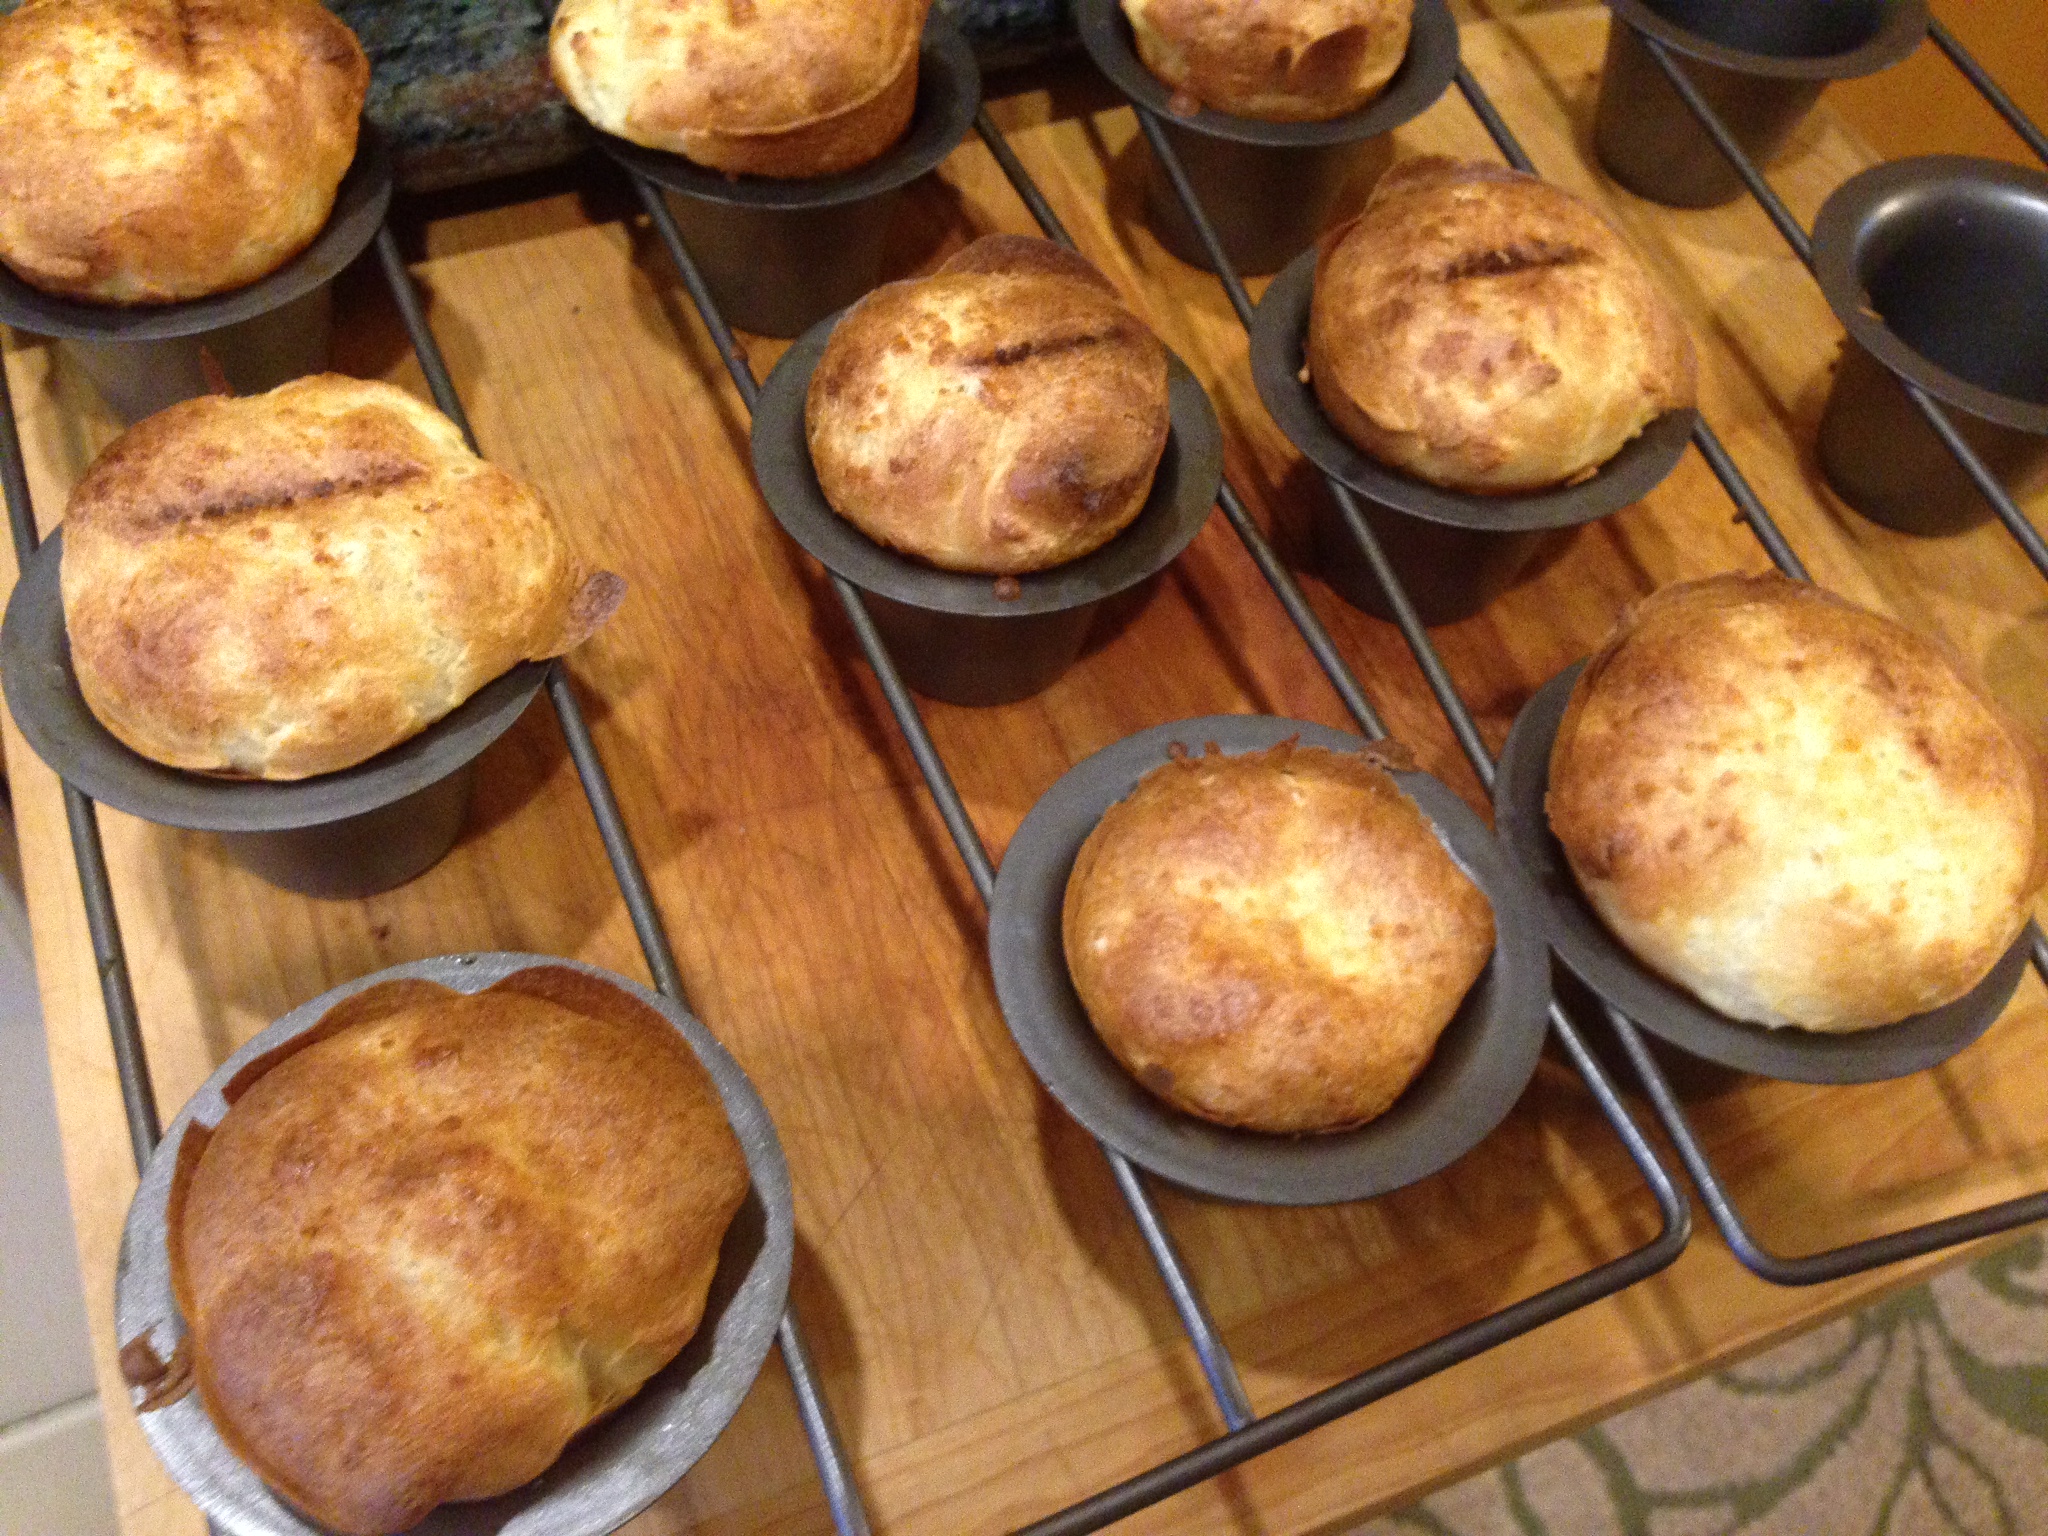
Easy but delicious popovers
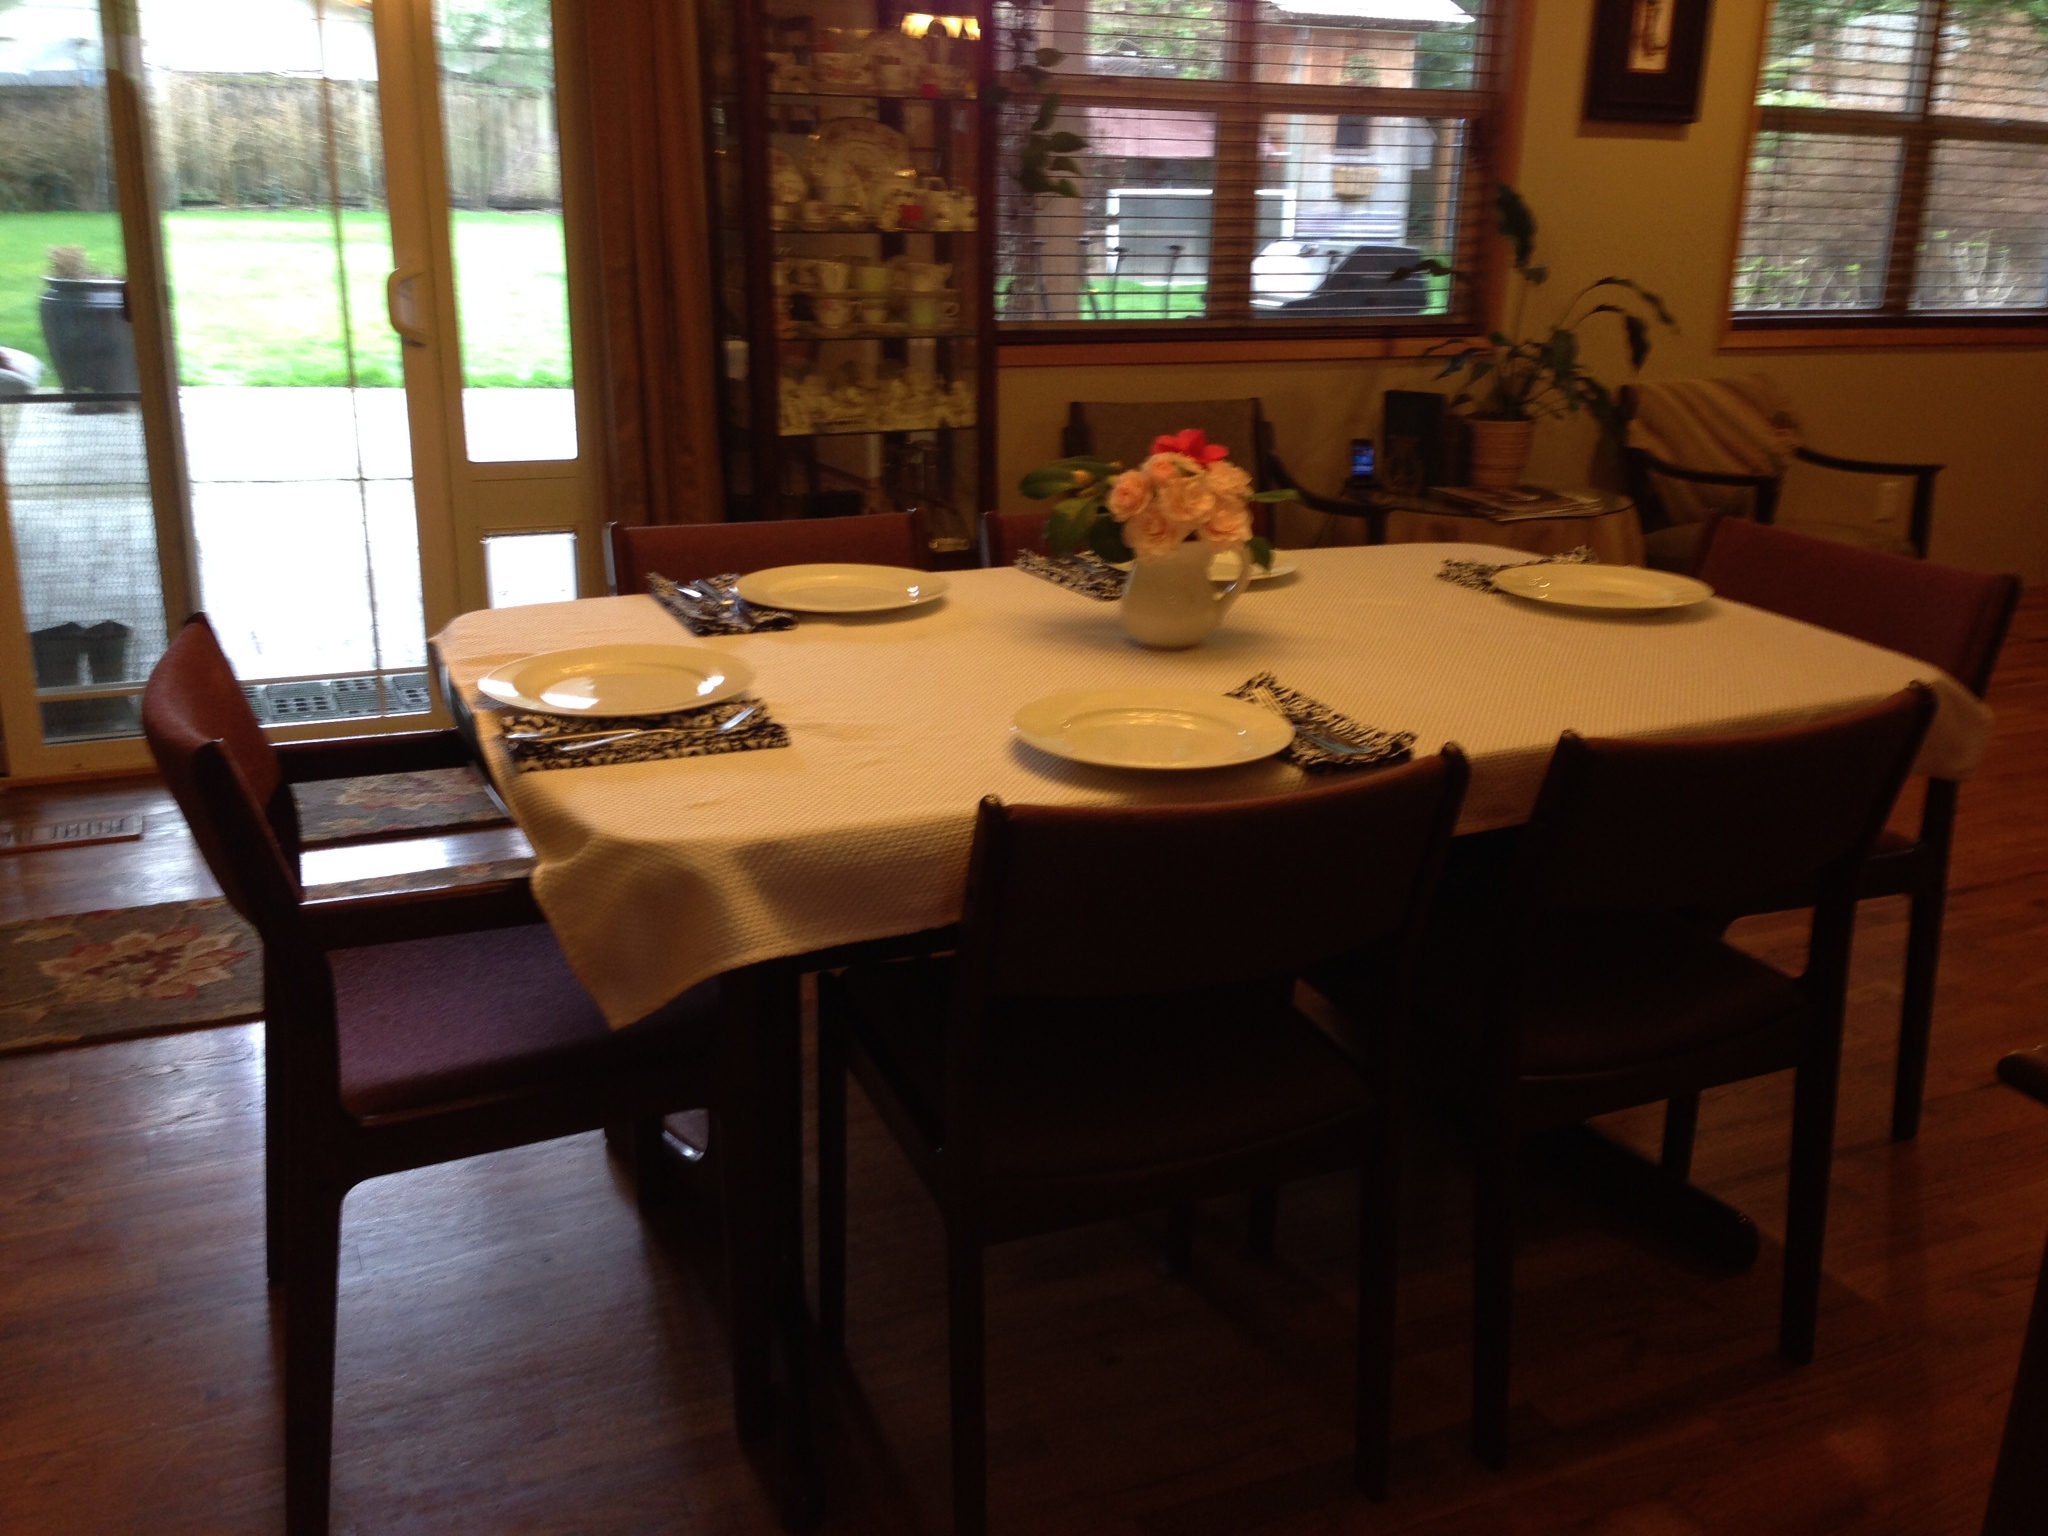
Simple table

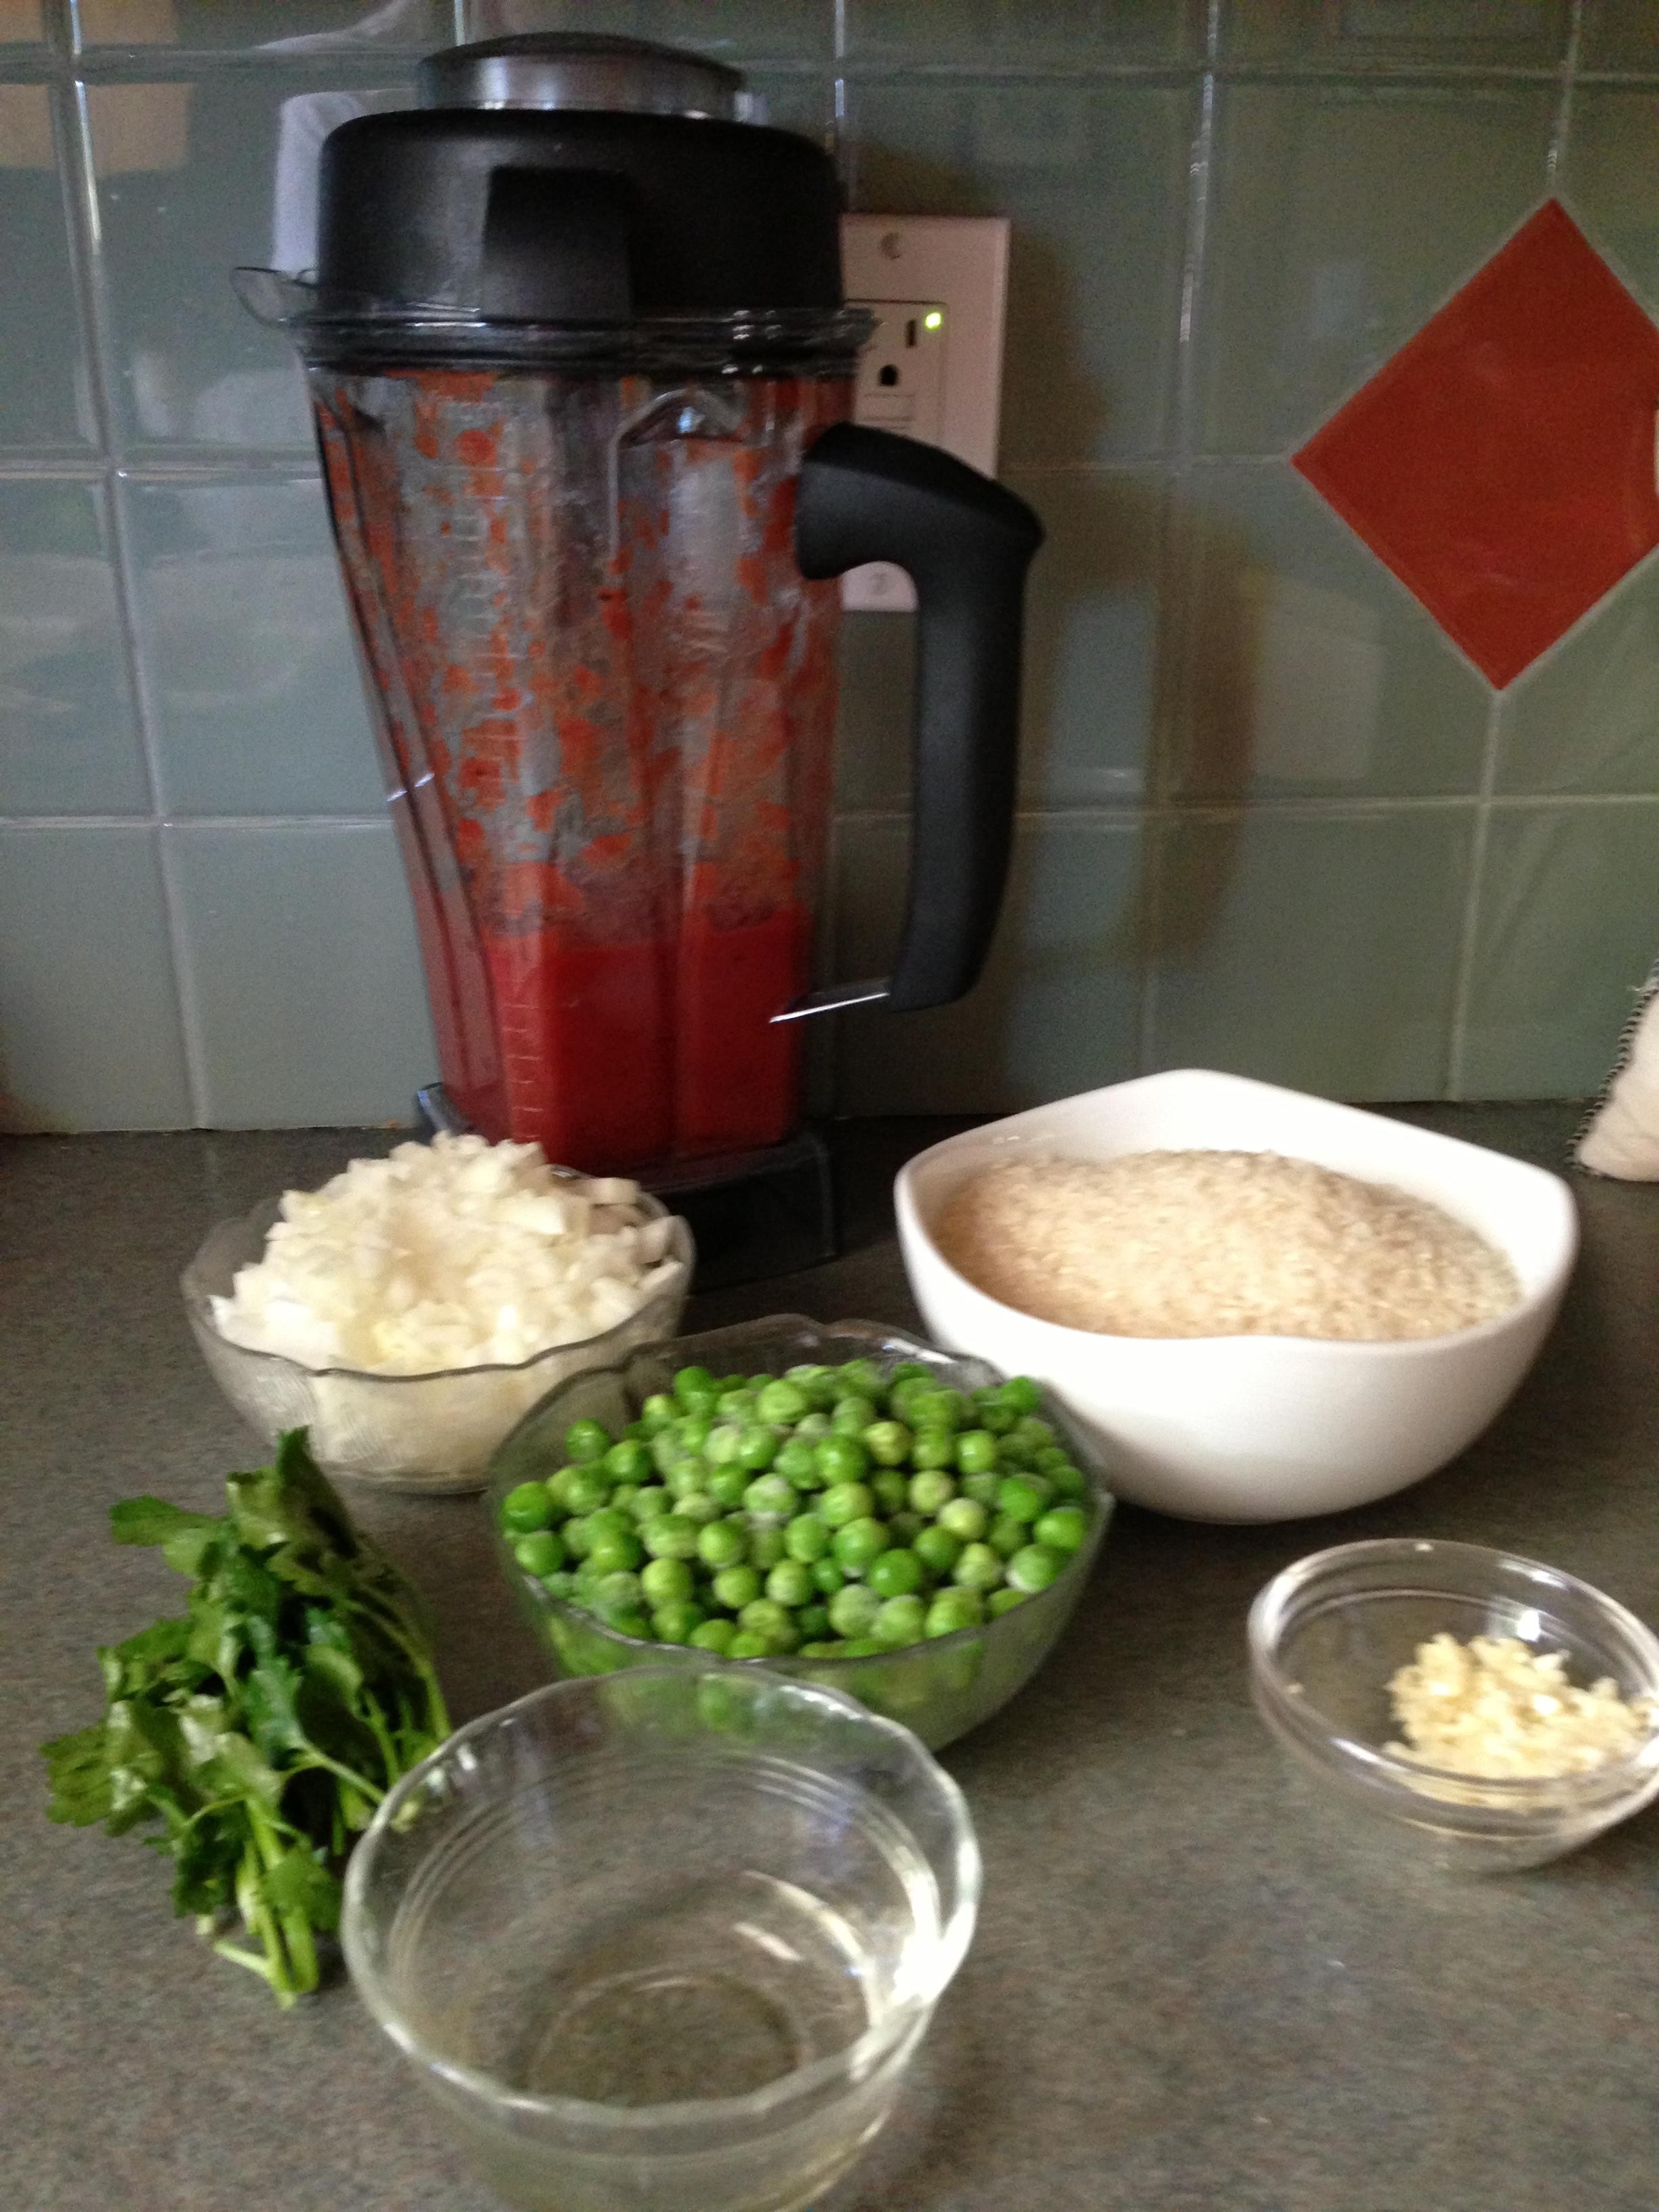
![IMG_2534[1]](https://advicefromthekitchen.com/wp-content/uploads/2013/11/img_25341.jpg "Ingredients for Gnocchi in Tomato Broth")
![IMG_2539[1]](https://advicefromthekitchen.com/wp-content/uploads/2013/11/img_25391.jpg "Tomato Broth")
![IMG_2541[1]](https://advicefromthekitchen.com/wp-content/uploads/2013/11/img_25411.jpg "Riced potatoes")
![IMG_2543[1]](https://advicefromthekitchen.com/wp-content/uploads/2013/11/img_25431.jpg "Gnocchi")
![IMG_2546[1]](https://advicefromthekitchen.com/wp-content/uploads/2013/11/img_25461.jpg "Cooking gnocchi")
![IMG_2554[1]](https://advicefromthekitchen.com/wp-content/uploads/2013/11/img_25541.jpg "Finished Product")