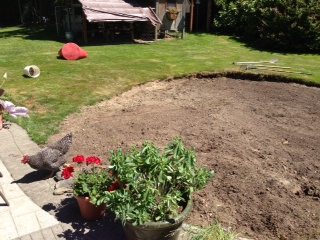
Droopy Doodle is wondering what happened to her garden.
I have yet another confession to make, no, nothing from this post was pulled out of the trash, it’s even worse, I am filling in my garden with, *gasp*, grass. Sorry, I know it goes against all the current trends and Sunset magazine will probably revoke my subscription if they find out but I have too much yard to take care of by myself and I am not married to a man who likes yardwork. I enjoyed the vegetable gardening thing for awhile, I grew radishes and green onions and kale with pretty good success and I grew great crops of cherry tomatoes. But other than that, I spent a lot of time weeding, watering, picking worms out of cabbages and trying to outsmart the chickens. Their entire life’s mission is to get into the garden so they can pull out every seedling and eat every flower. So this weekend, all the herbs were moved or repotted, four yards of soil was spread and grass seed and peat moss were sprinkled. Ironically, until this weekend I have not missed anything about not planting a garden until I decided to make the Barefoot Contessa’s Summer Garden Pasta for family dinner on Sunday.

$5 a pint–which is probably a bargain.
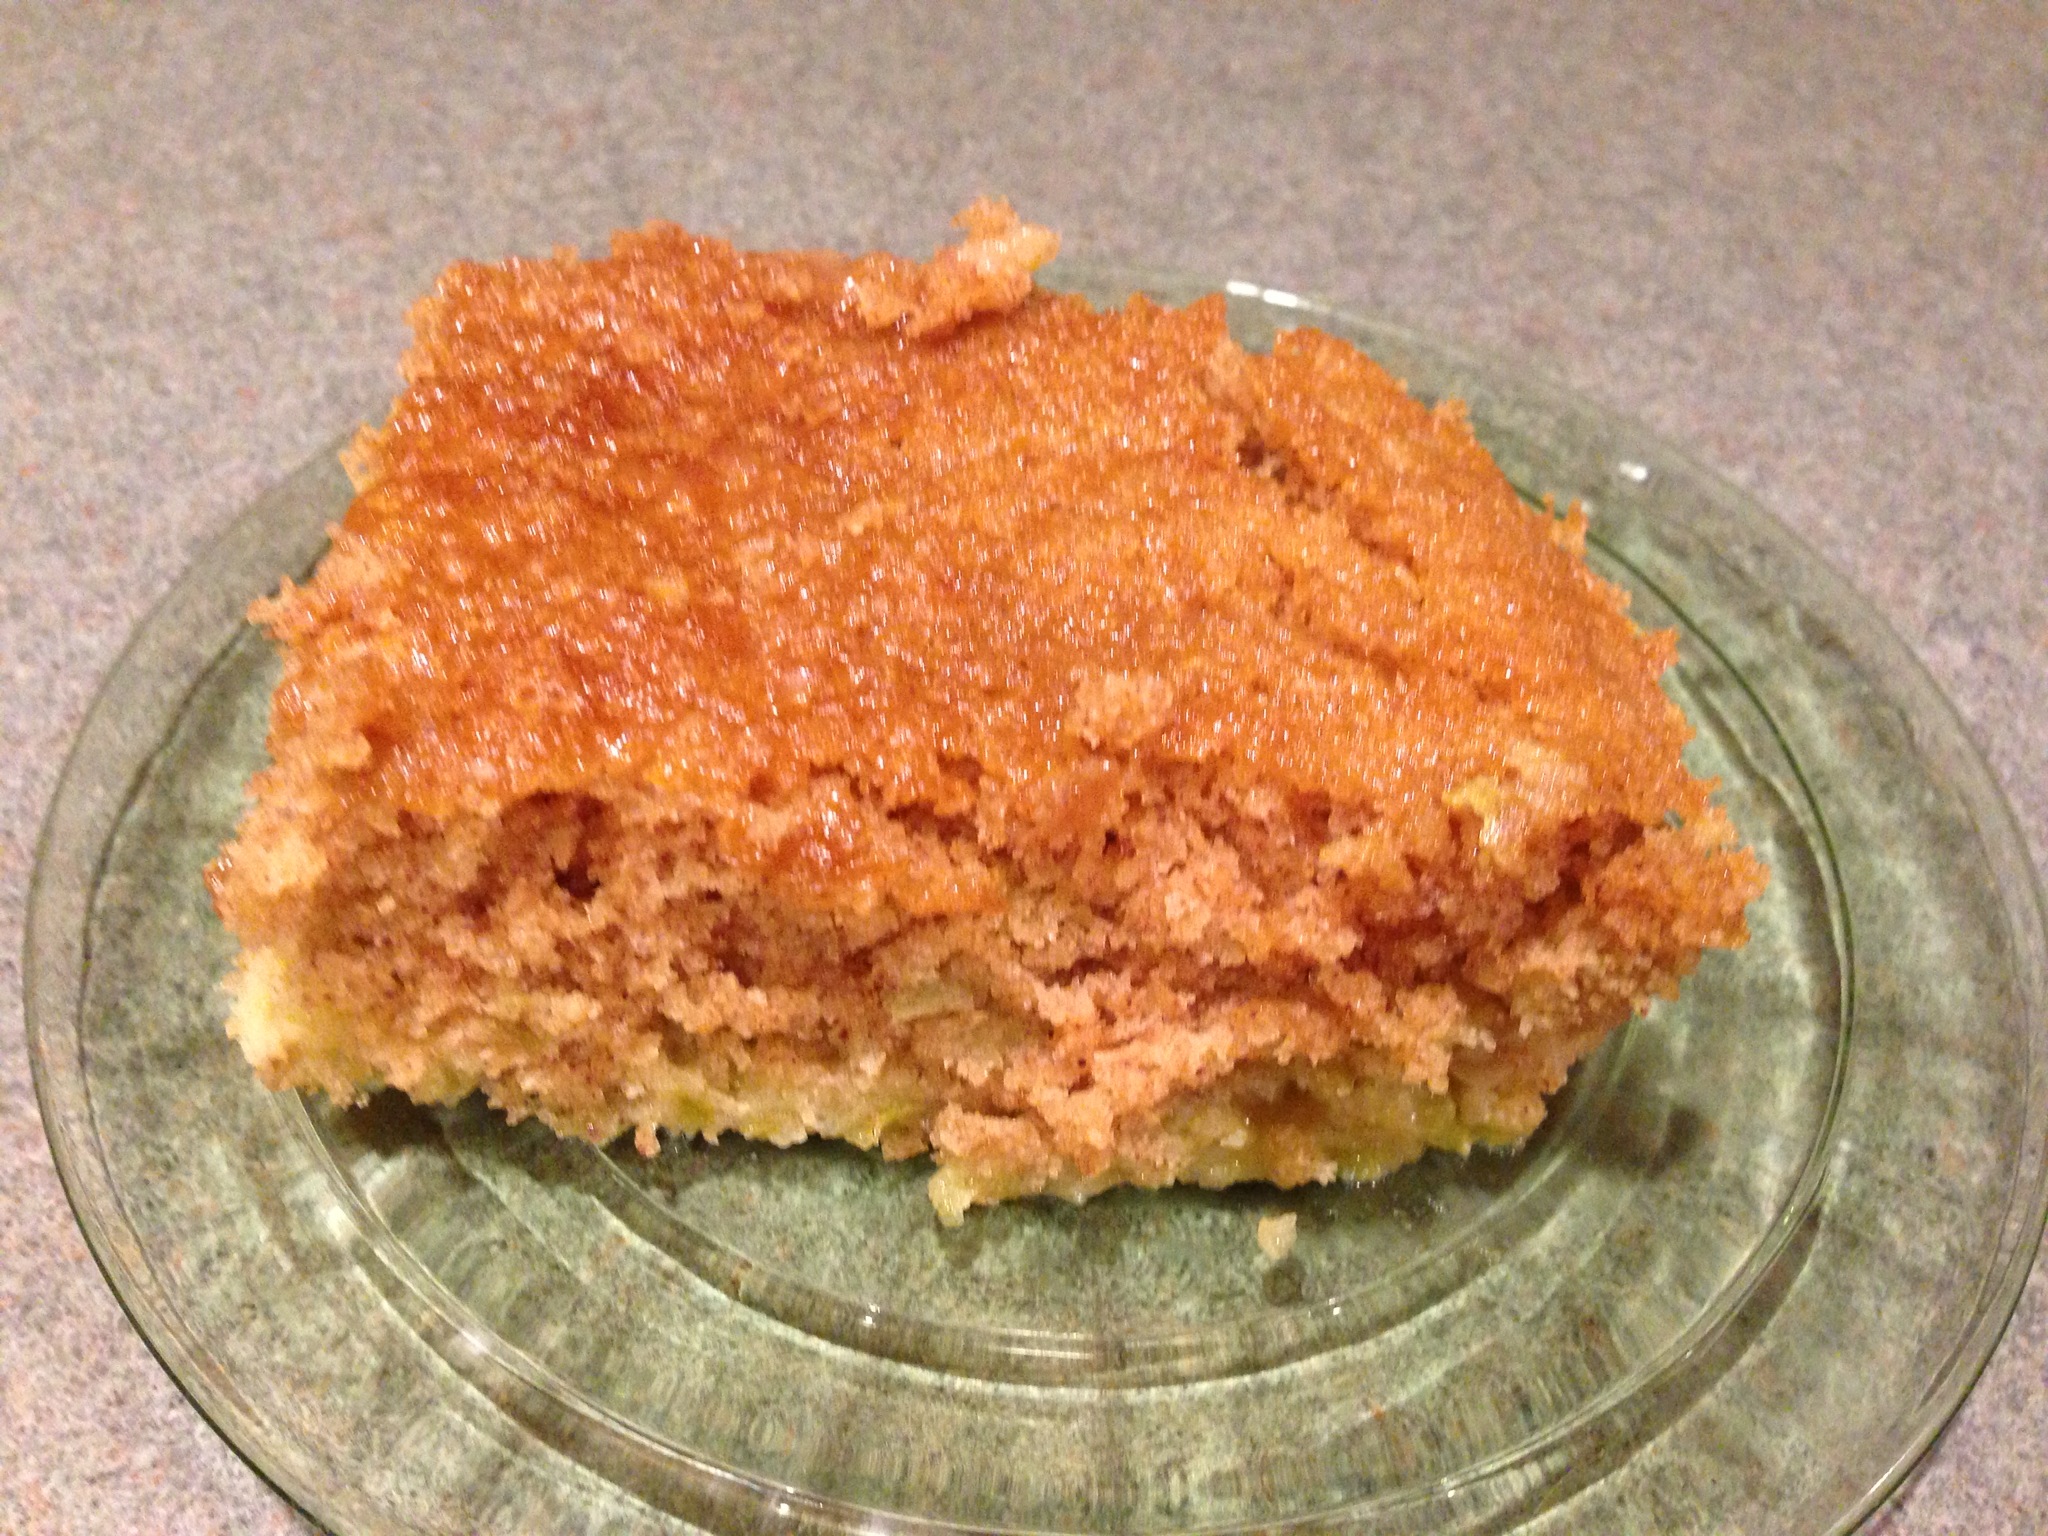
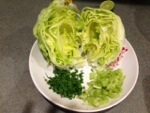
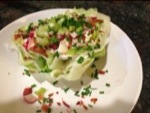
I first made this recipe a few summers ago when I had buckets of cherry tomatoes all ripening at the same time as it takes a whopping four pints. Yesterday at the local farm stand when faced with forking over $5 a pint for organic tomatoes, I decided three pints would do just fine. If you are an order Muppet like me, you can start this dish in the morning by preparing the tomato marinade and then head out for a bike ride or some yard work and still throw together an awesome dinner. The tomatoes are marinated with the olive oil, basil, garlic and red pepper flakes for about 4 hours which makes your entire house smell delicious and makes those you live with think you are a culinary genius. You finish it off by cooking a pound of angel hair pasta and then mix it together with the marinade and copious amounts of freshly grated parmesan. Couldn’t be easier! Serve it with a nice loaf of bread and maybe another wedge salad and, of course, something fabulous for dessert. Oh, and don’t forget a chilled bottle of white!
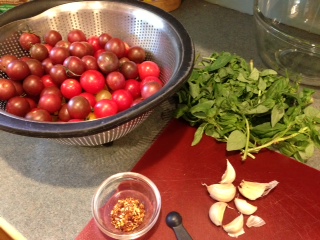
Tomatoes, garlic, basil and red pepper
Barefoot Contessa’s Summer Garden Pasta by Ina Garten
From Barefoot Contessa At Home
serves 6 (generously)
4 pints cherry tomatoes, halved
good olive oil
2 tablespoon minced garlic (not the jar kind, mince it yourself)
18 large basil leaves, julienned, plus extra for serving
1/2 teaspoon crushed red pepper flakes
kosher salt
1/2 teaspoon freshly ground black pepper
1 pound angel hair pasta
1 1/2 cups freshly grated Parmesan cheese, plus extra for serving (again, grate your own)
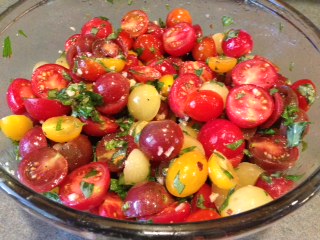
Combine the cherry tomatoes, 1/2 cup olive oil, garlic, basil leaves, red pepper flakes, 1 teaspoon salt, and the pepper in a large bowl. Cover with plastic wrap, and set aside at room temperature for about 4 hours.
Just before you’re ready to serve, bring a large pot of water with a splash of olive oil and 2 tablespoons salt to a boil and add the pasta. Cook al dente according to the directions on the package (should be 2-3 minutes). Drain the pasta well and add to the bowl with the cherry tomatoes. Add the cheese and some extra fresh basil leaves and toss well. Serve in big bowls with extra cheese on each serving.
The smell from this is fantastic!
So, when you visit, we’ll sit on my backporch and admire my lovely green grass and I’ll make you this yummy dish! Oh, and there’s still plenty of flower beds to weed–don’t worry, I have extra gloves!
Cheers!

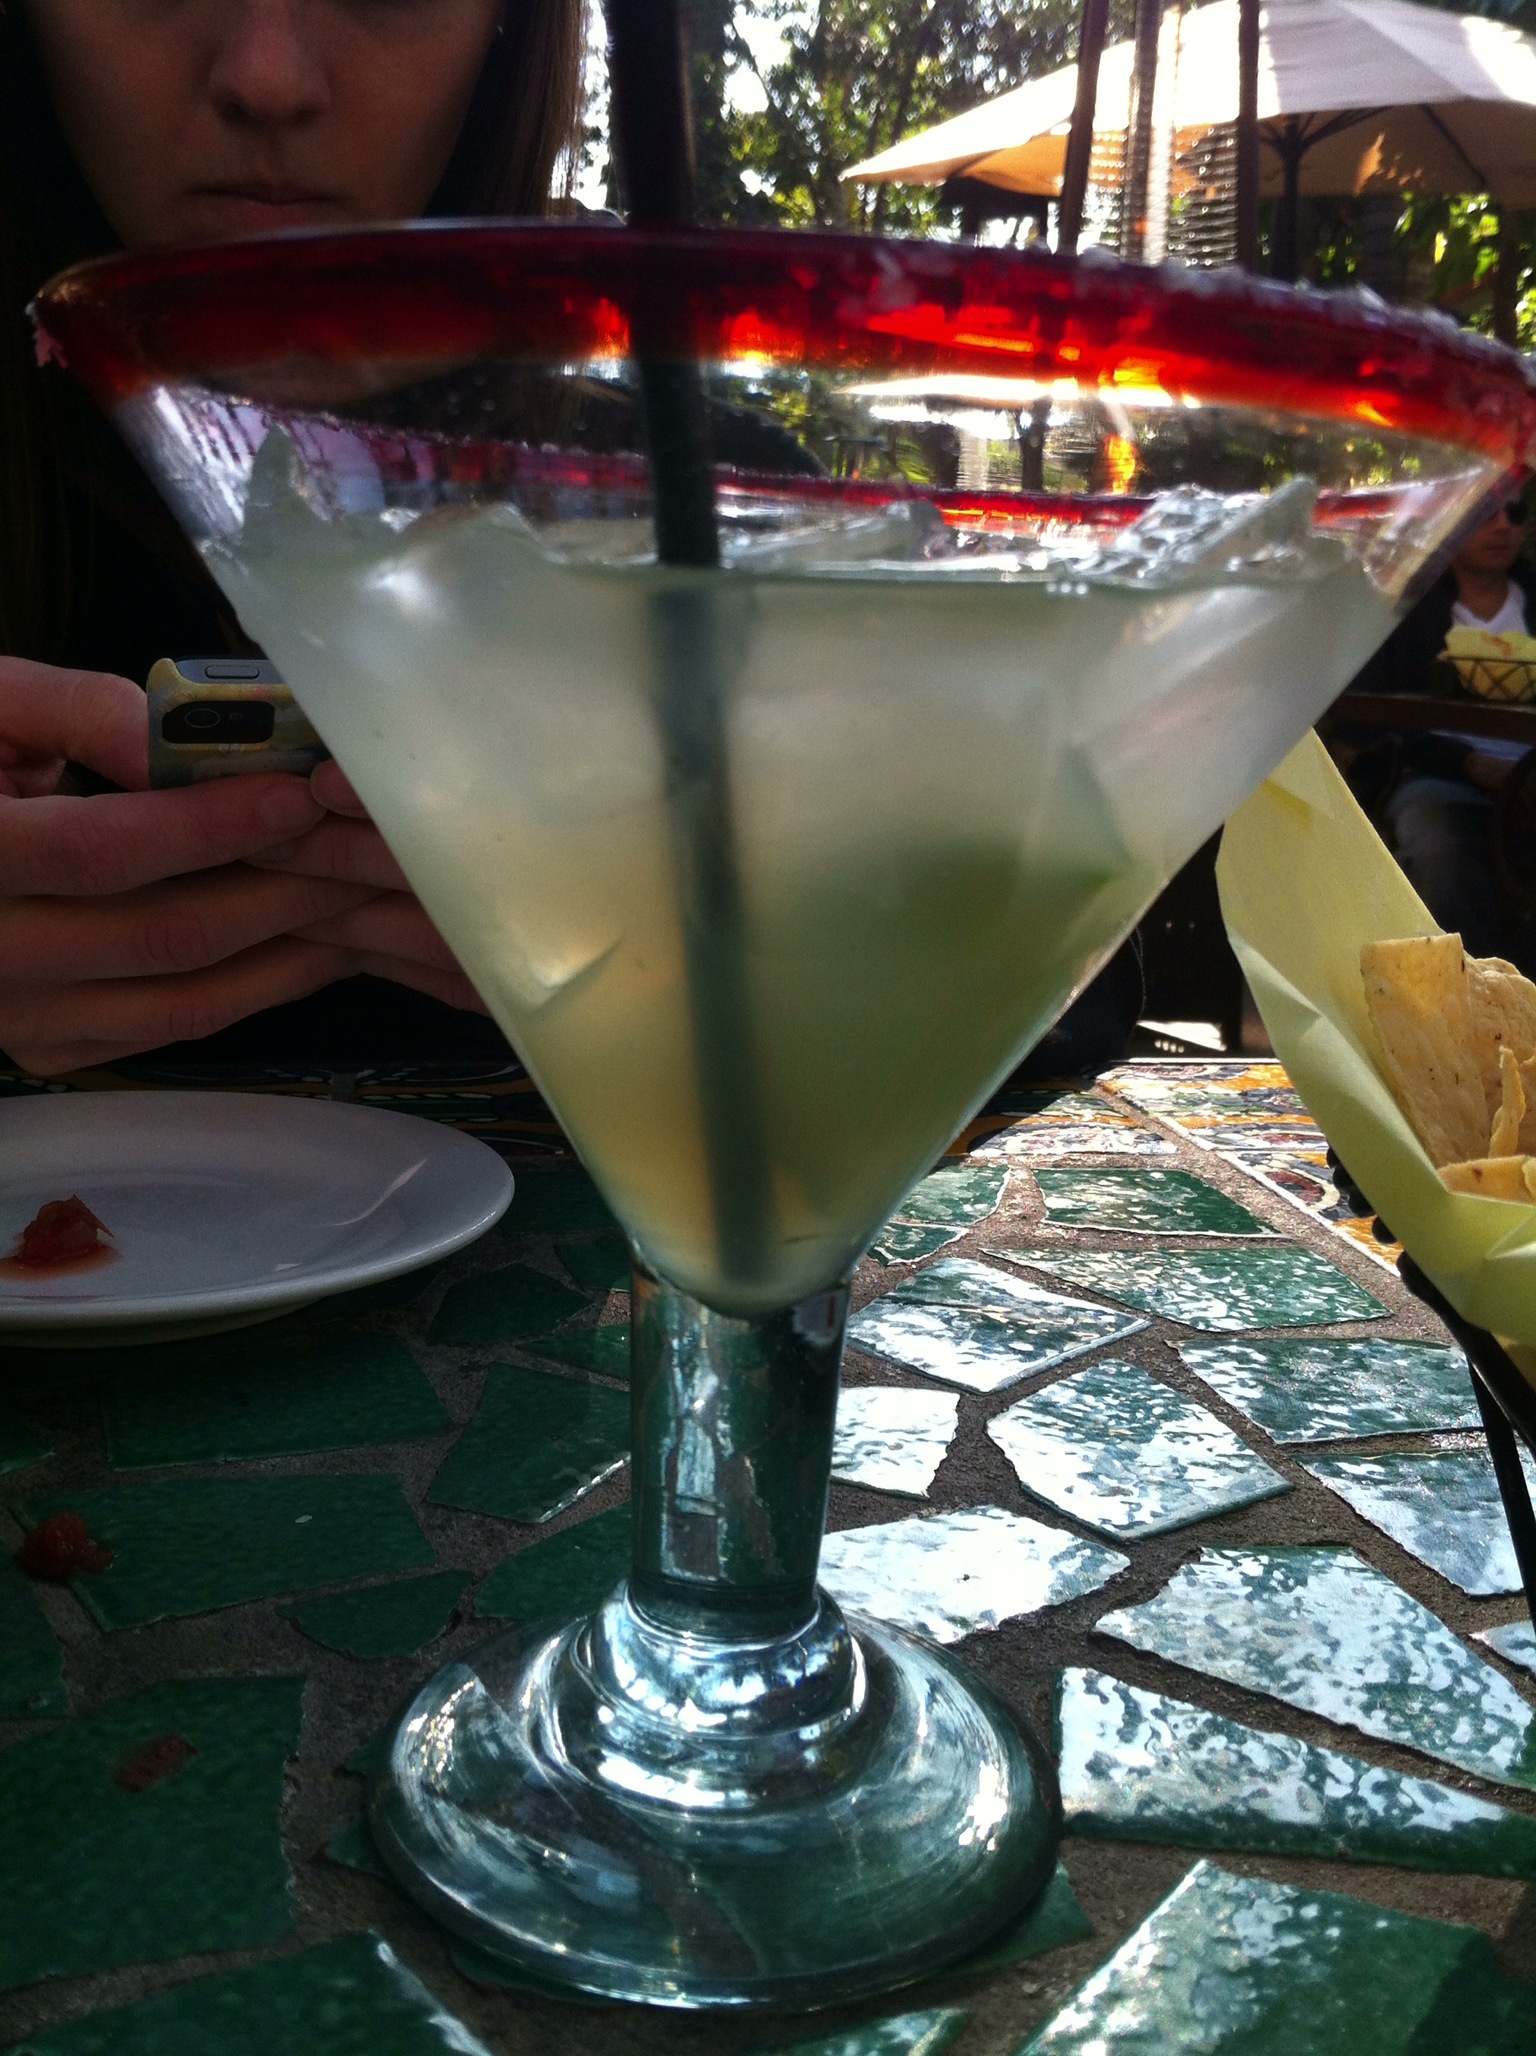
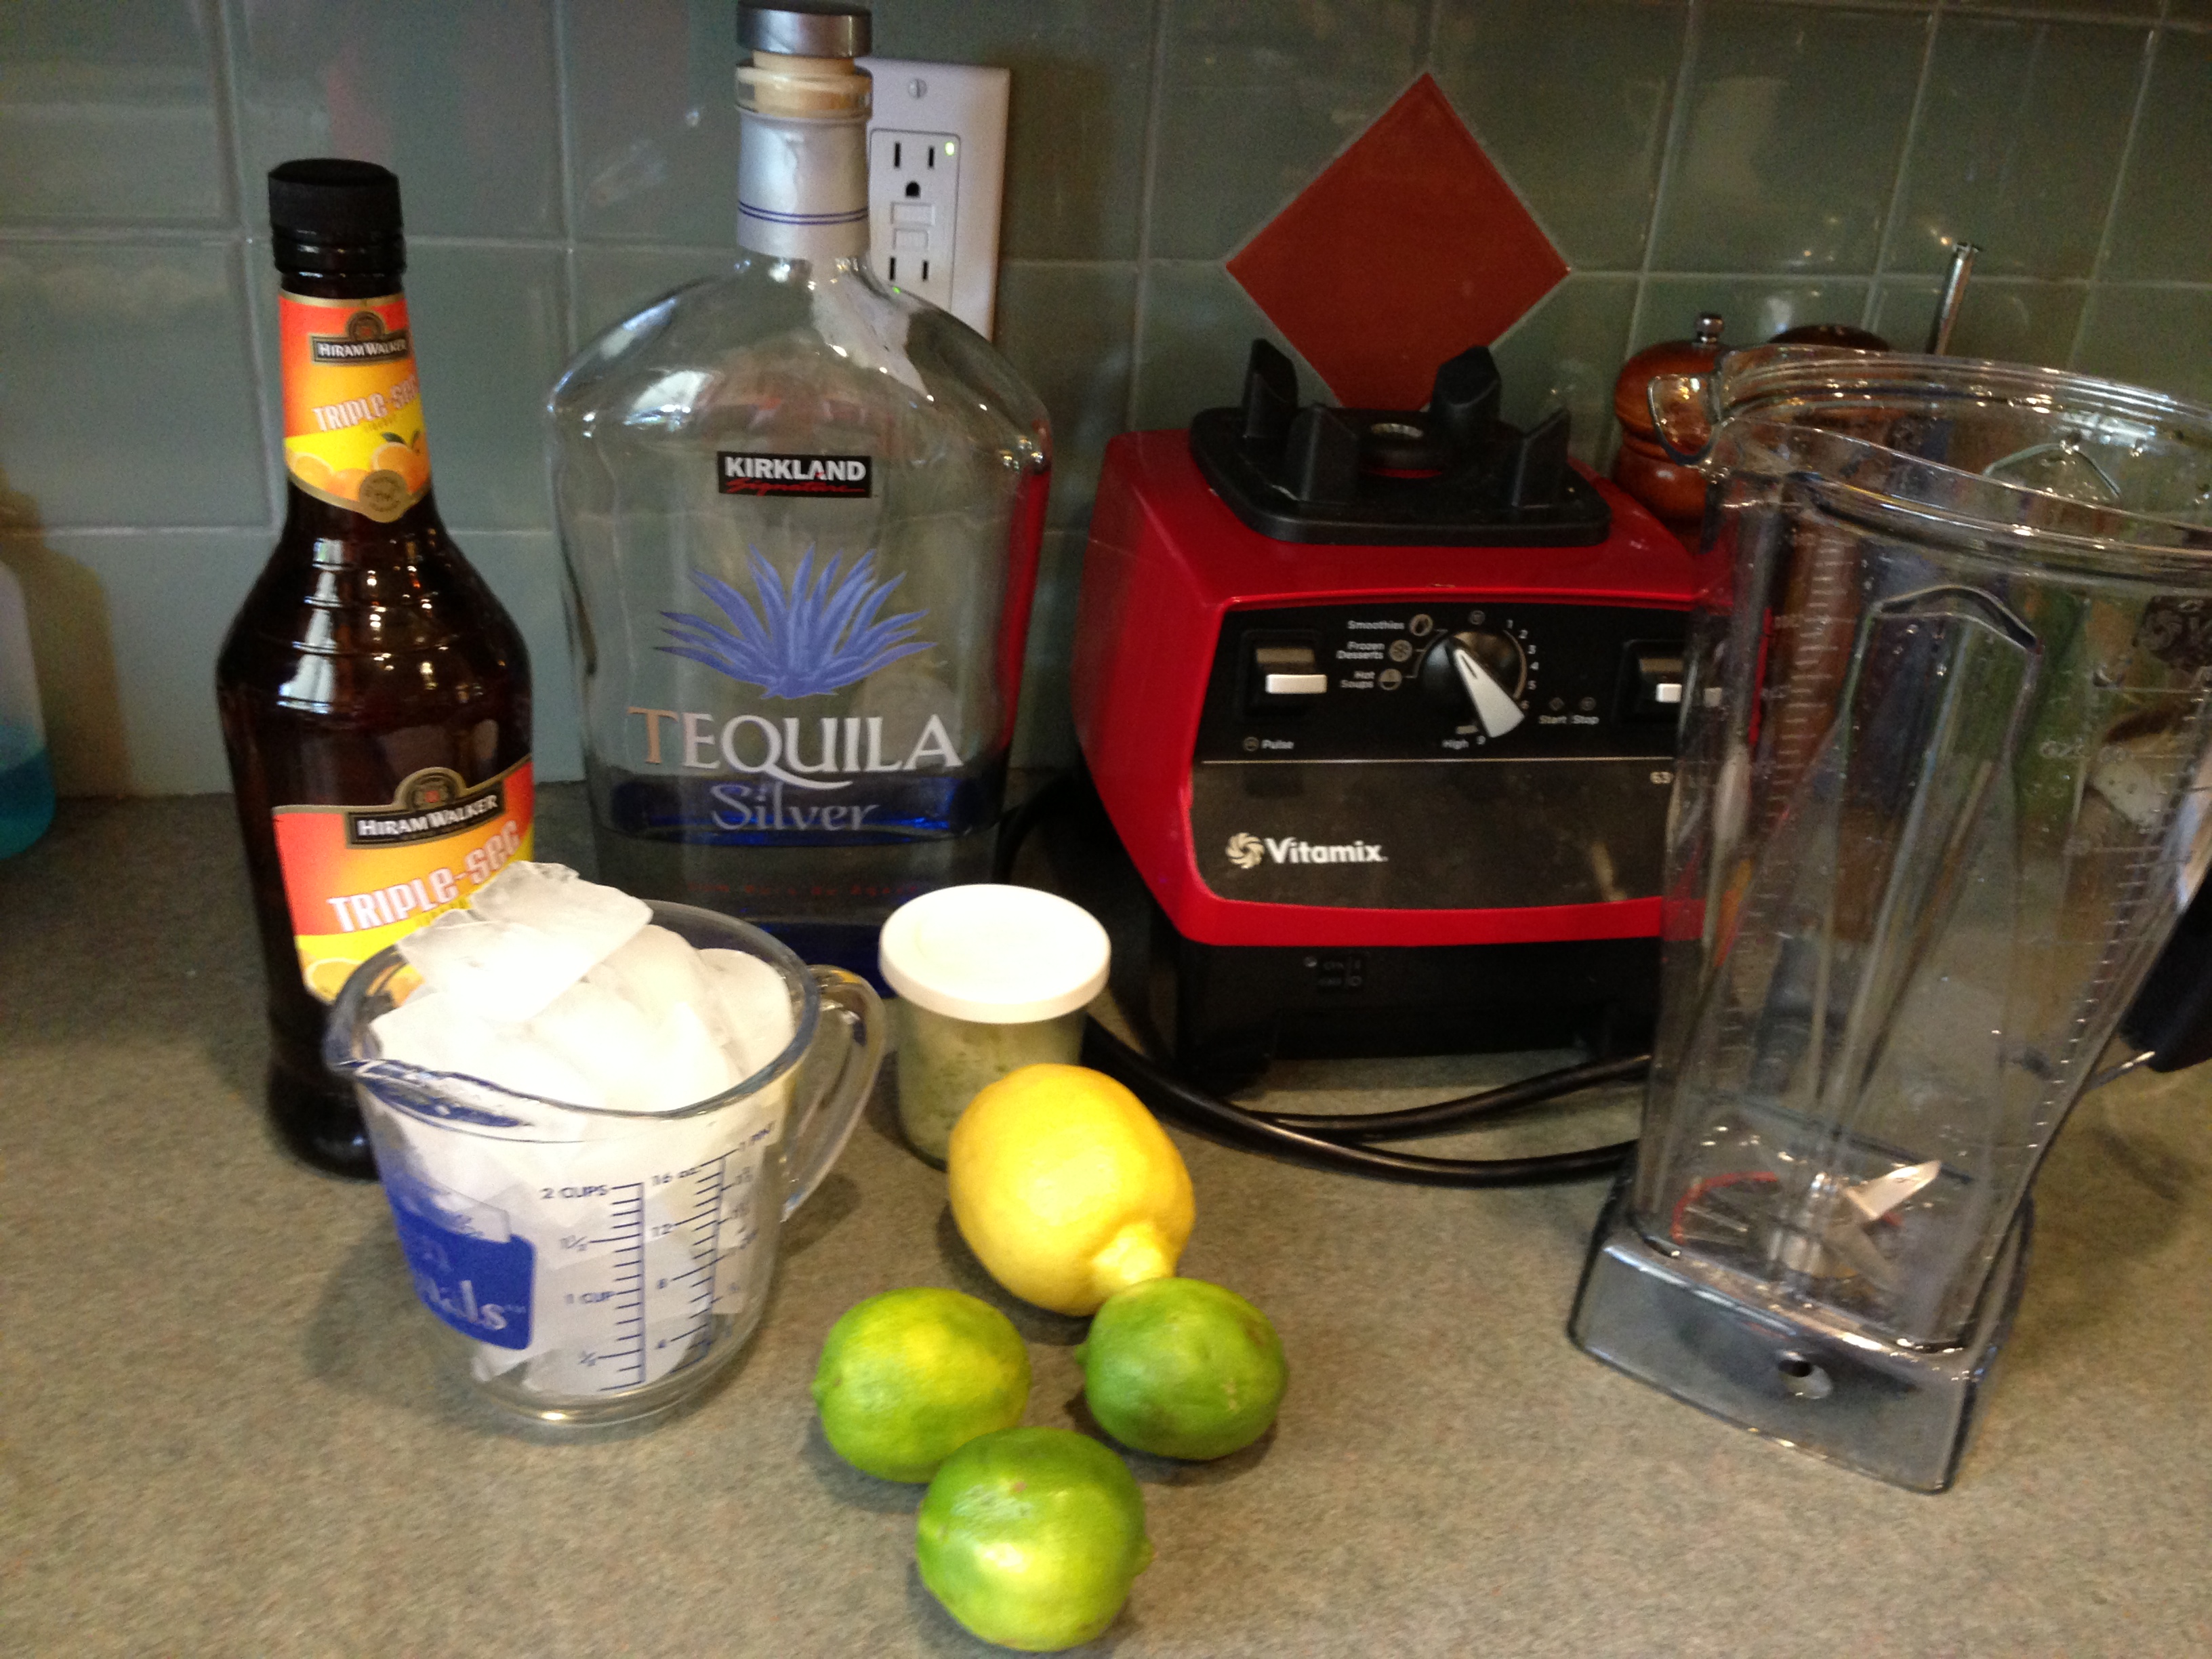

 coupe glasses")